 April 2007.
Nate needs a workbench. Maggie wanted to build
one, but lacked time, lumber, money, tools, etc. So I'm taking them some
scrap lumber in the form of a do-it-yourself workbench kit.
April 2007.
Nate needs a workbench. Maggie wanted to build
one, but lacked time, lumber, money, tools, etc. So I'm taking them some
scrap lumber in the form of a do-it-yourself workbench kit.Workbench for Nate's Studio, Santa Barbara
April 2007.
Nate needs a workbench. Maggie wanted to build
one, but lacked time, lumber, money, tools, etc. So I'm taking them some
scrap lumber in the form of a do-it-yourself workbench kit.
The design requirements:
has to sit under a window, with a 3-foot section of blank wall to the right
top should be 38" or more above floor
desired size about 4-1/2 feet long, 2-1/2 feet deep
needs a tall chair to slide in under bench
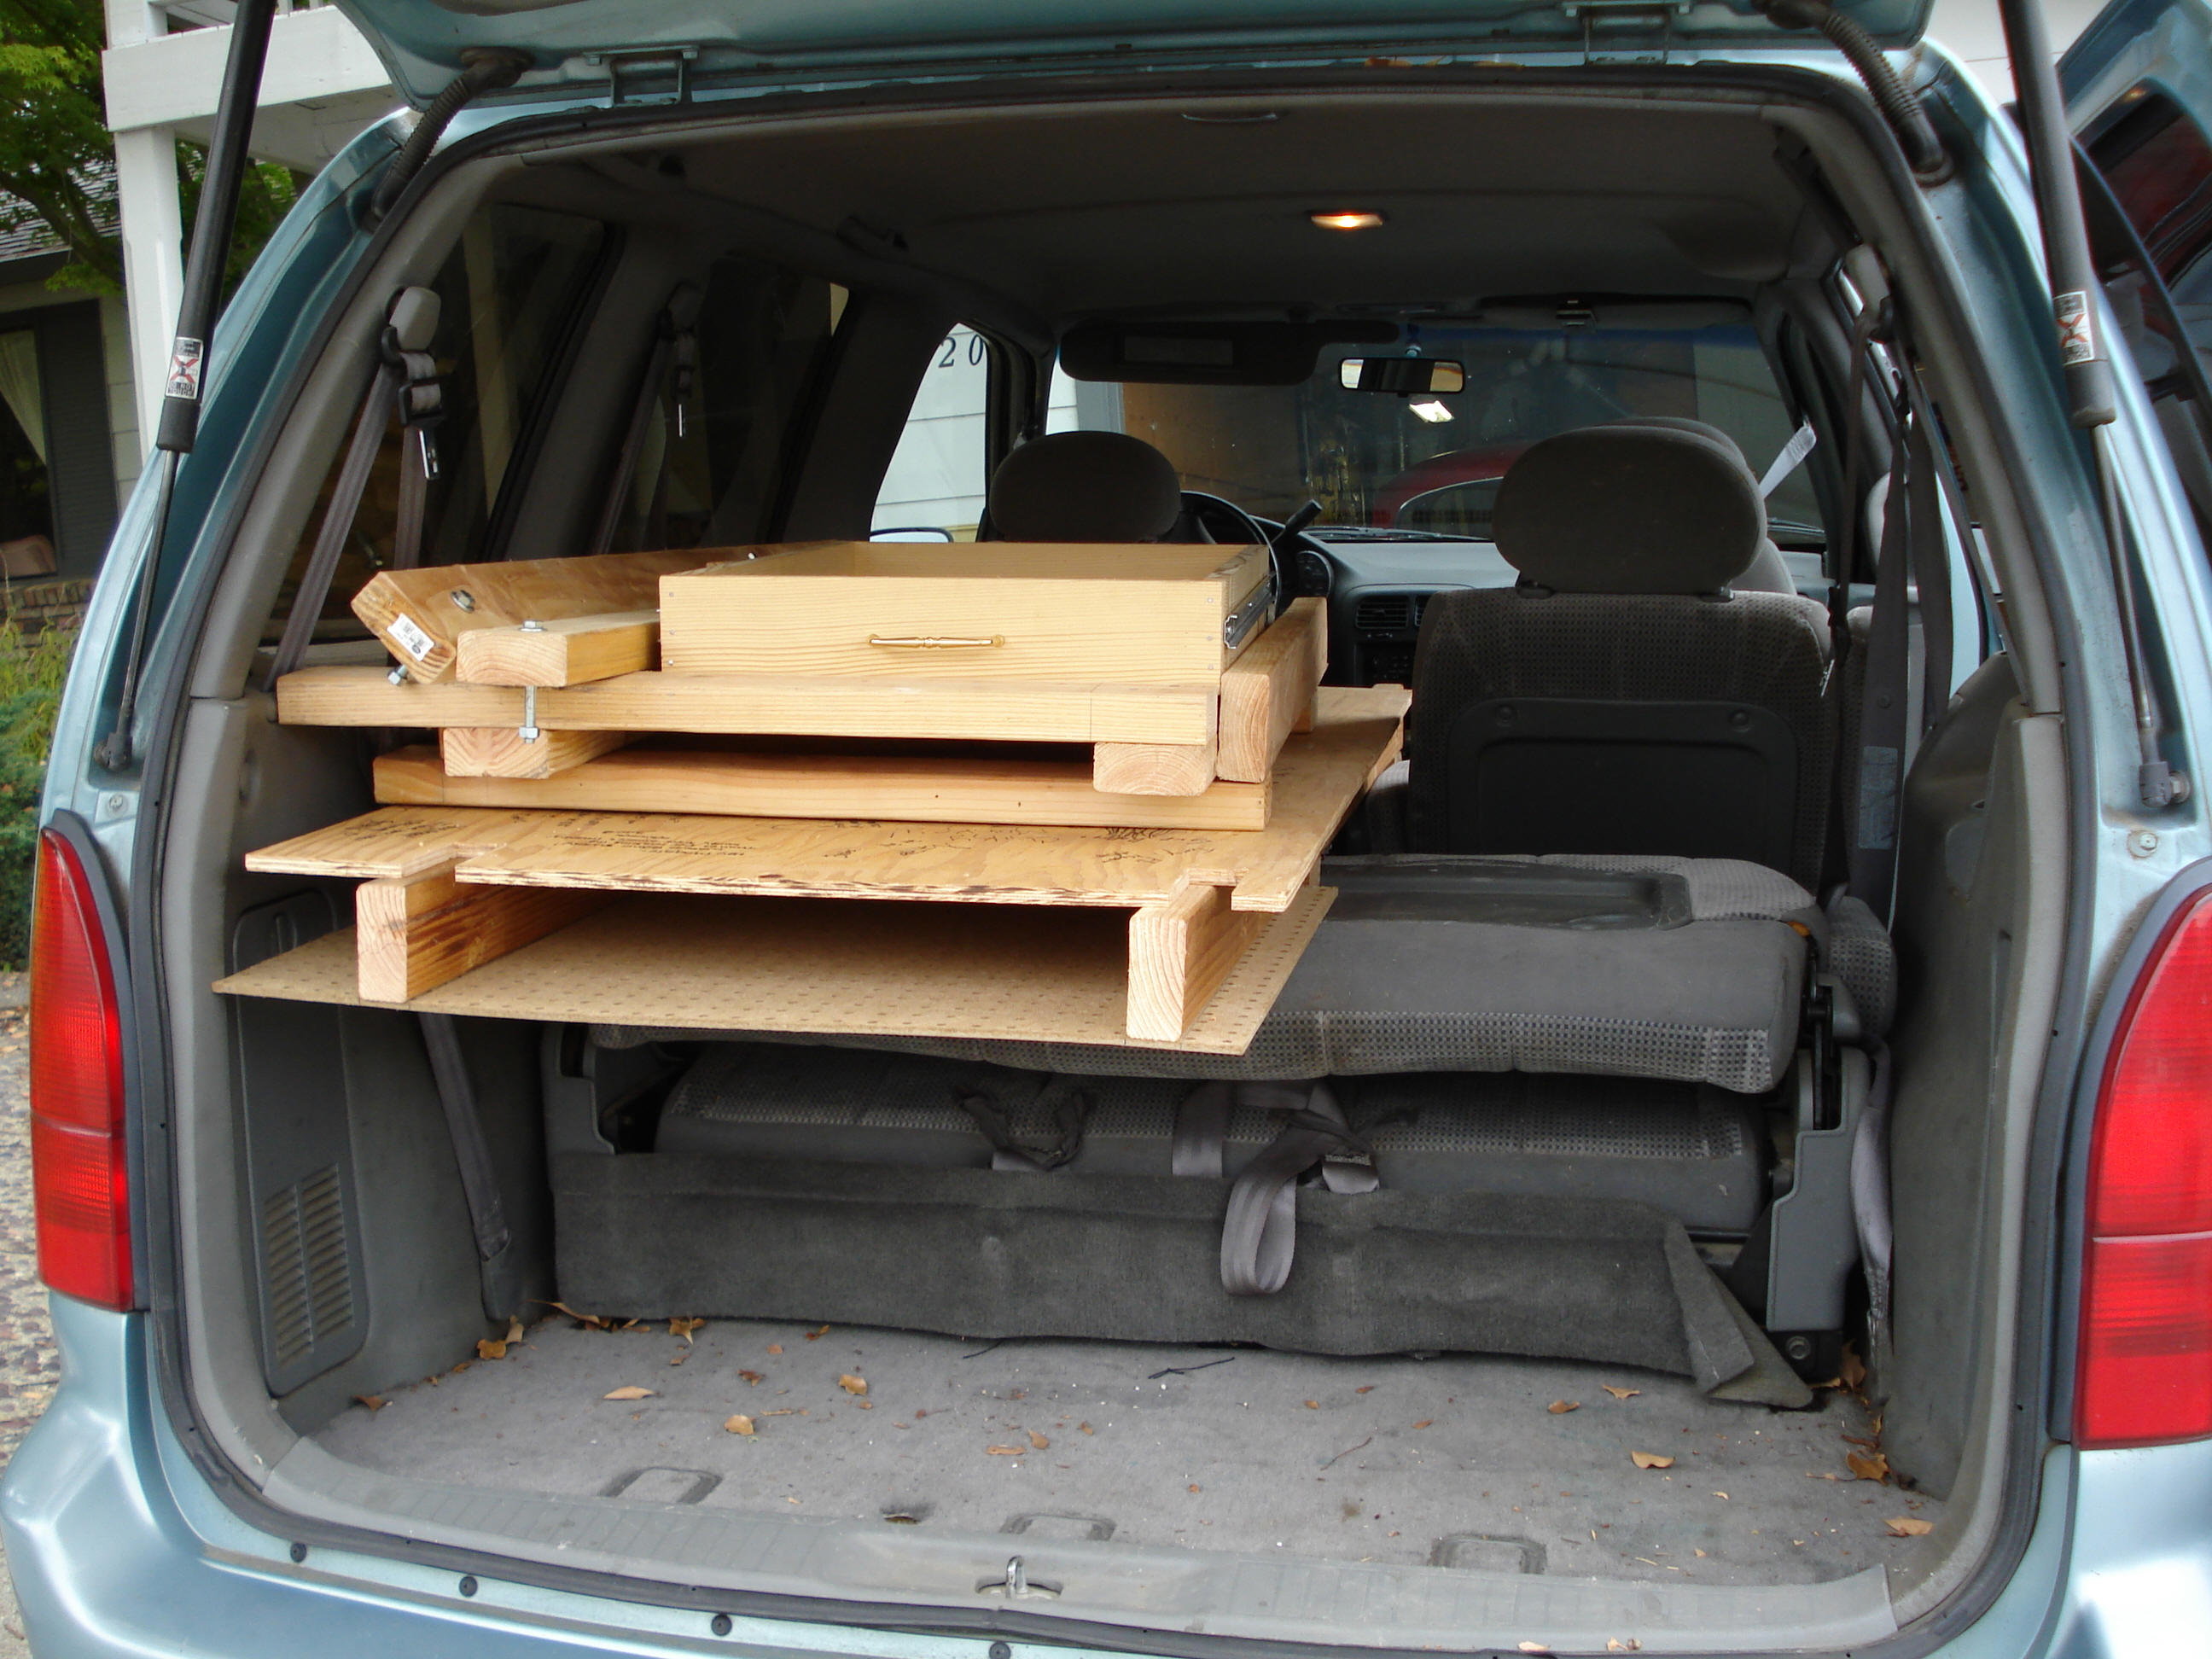
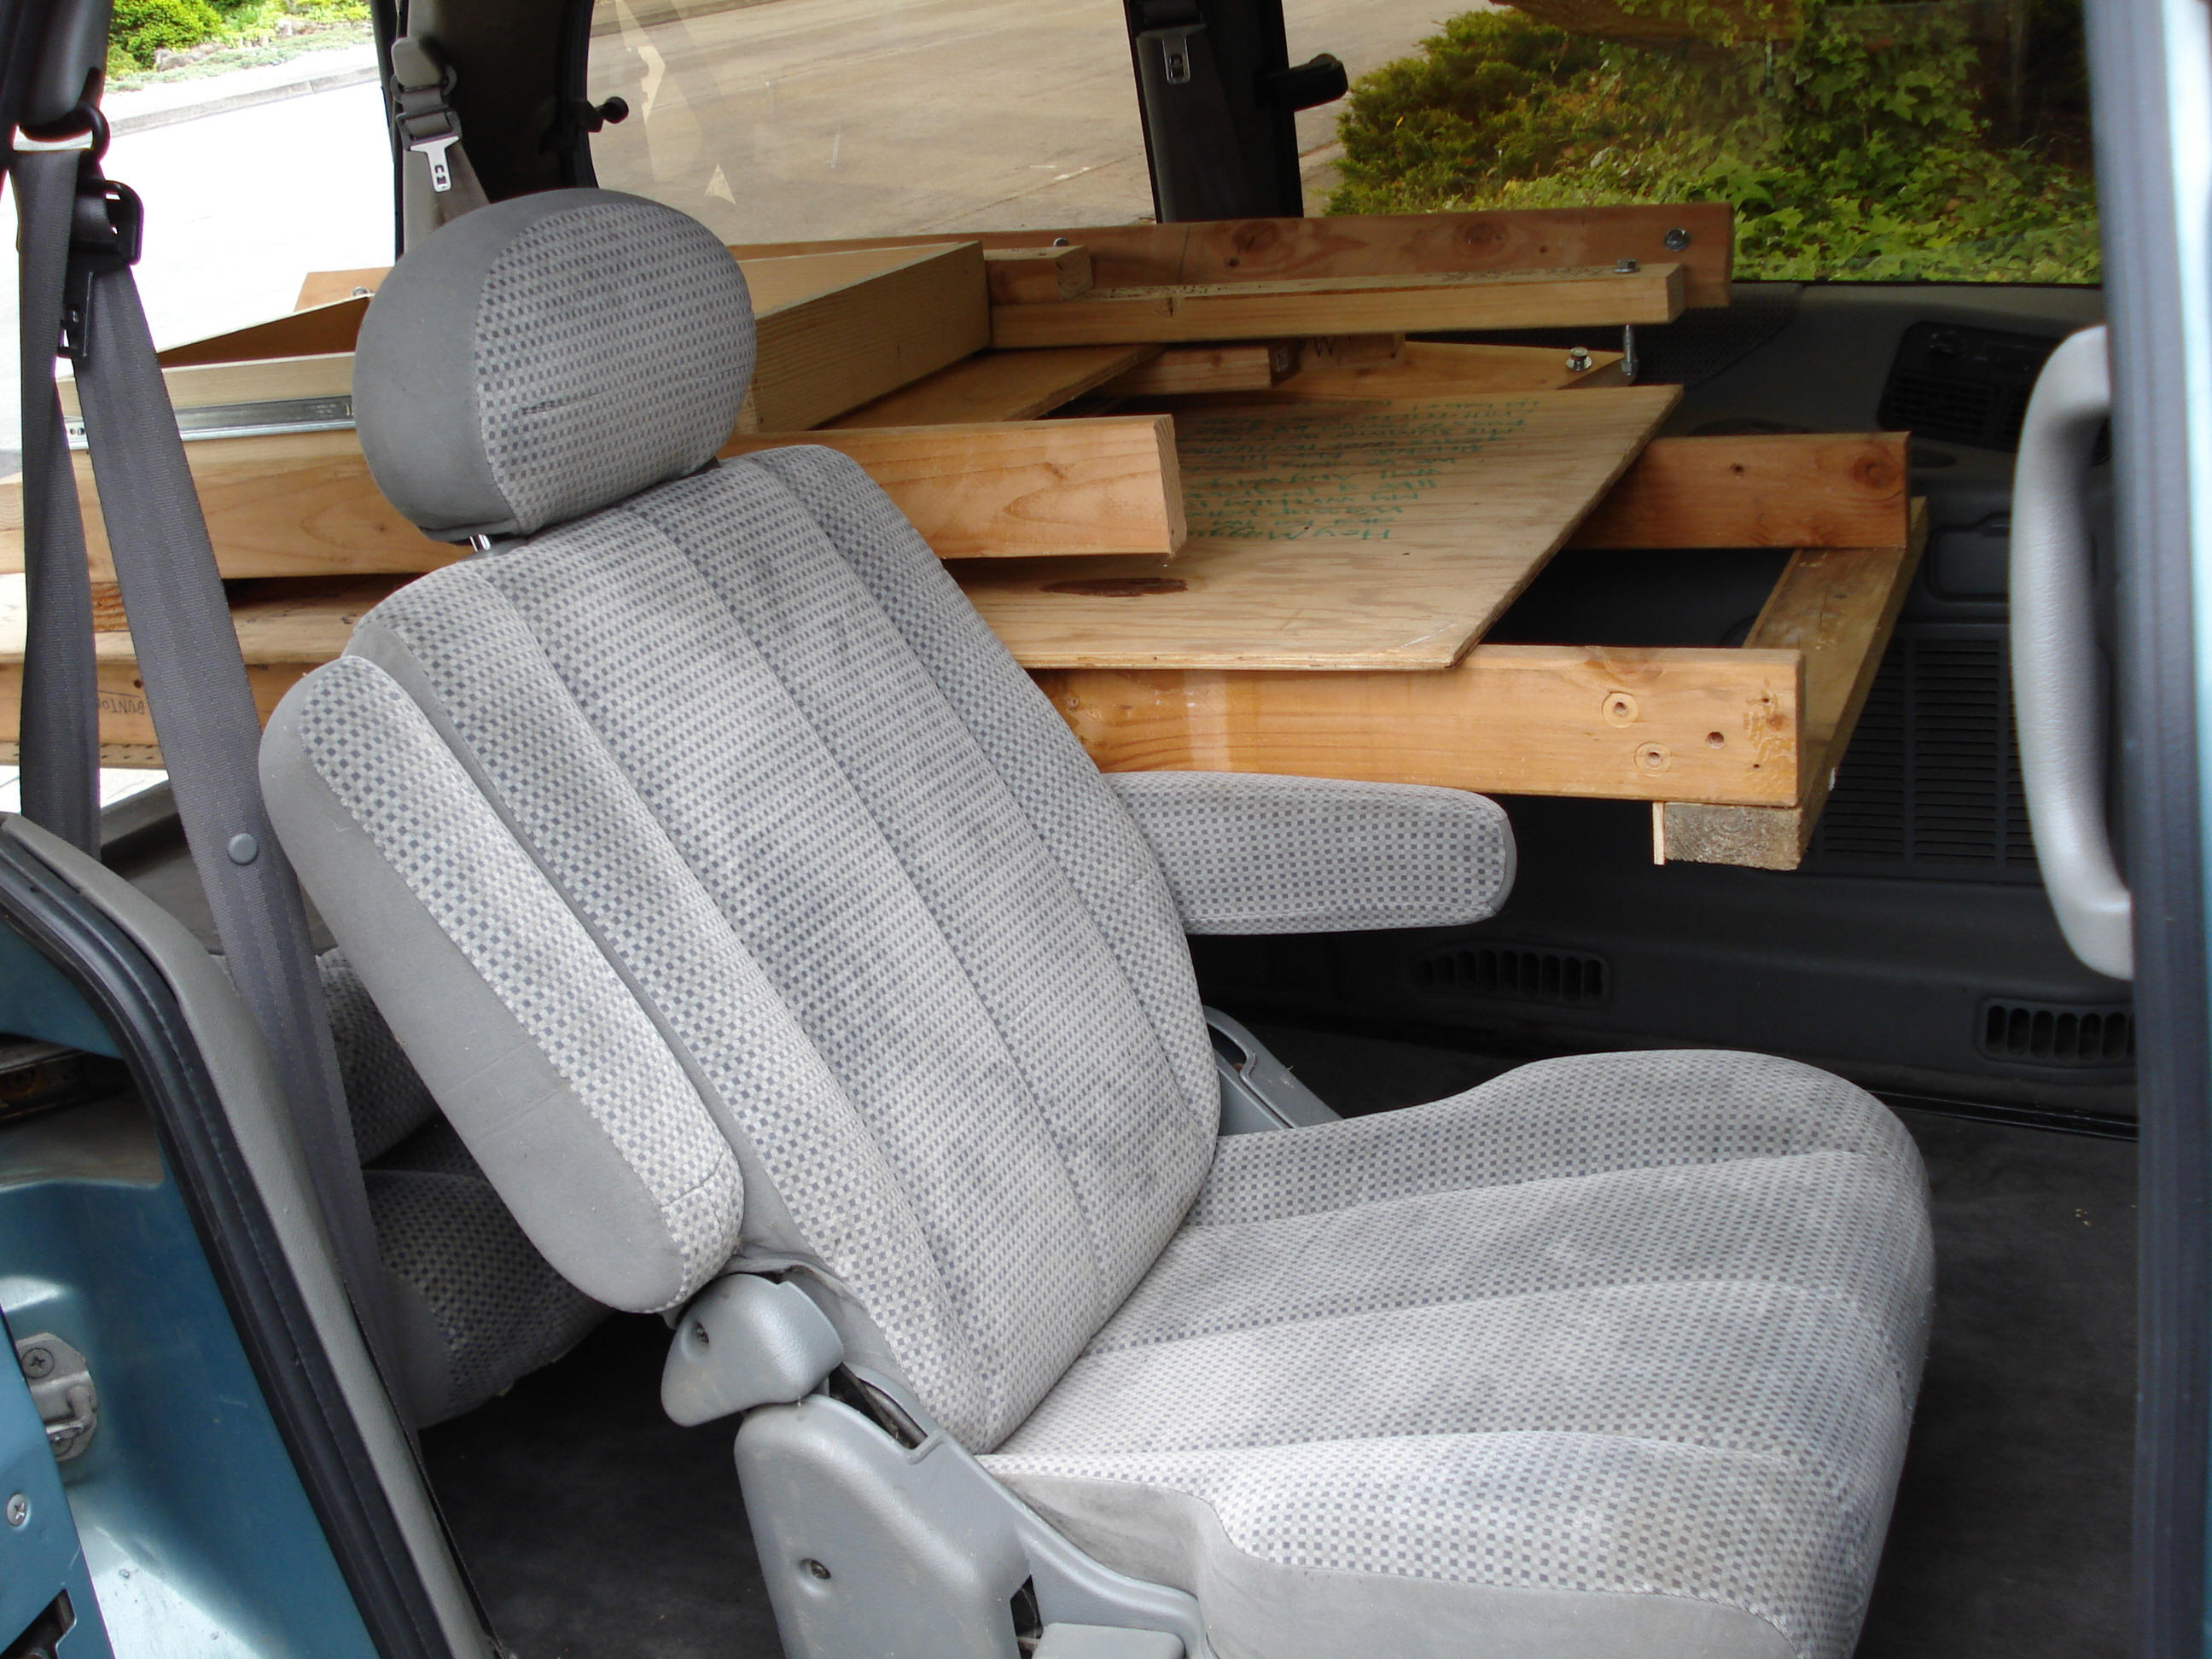
needs to be storable in small space until move-in time
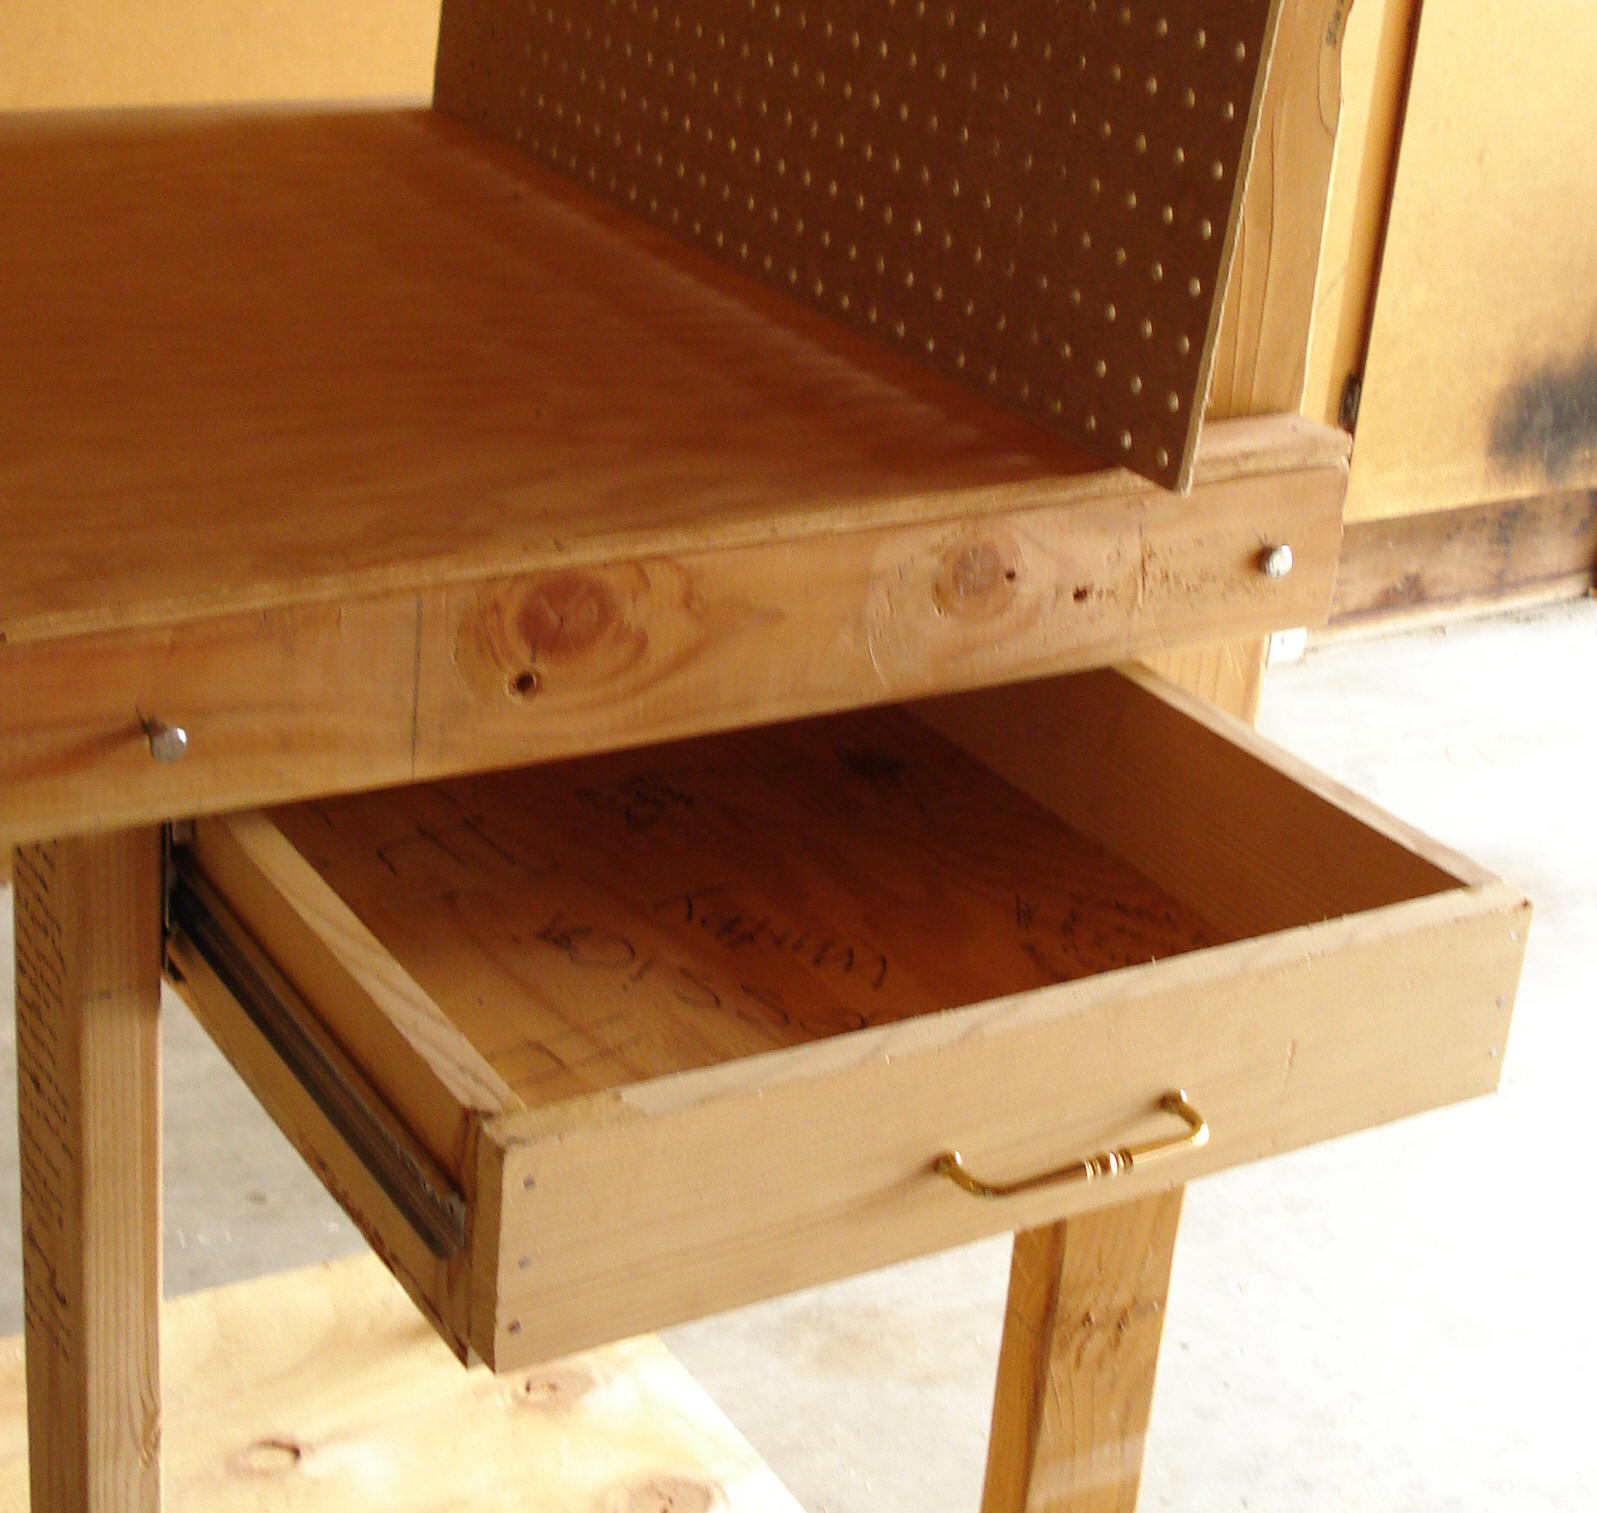
would be nice to have: pegboard, drawer, shelf
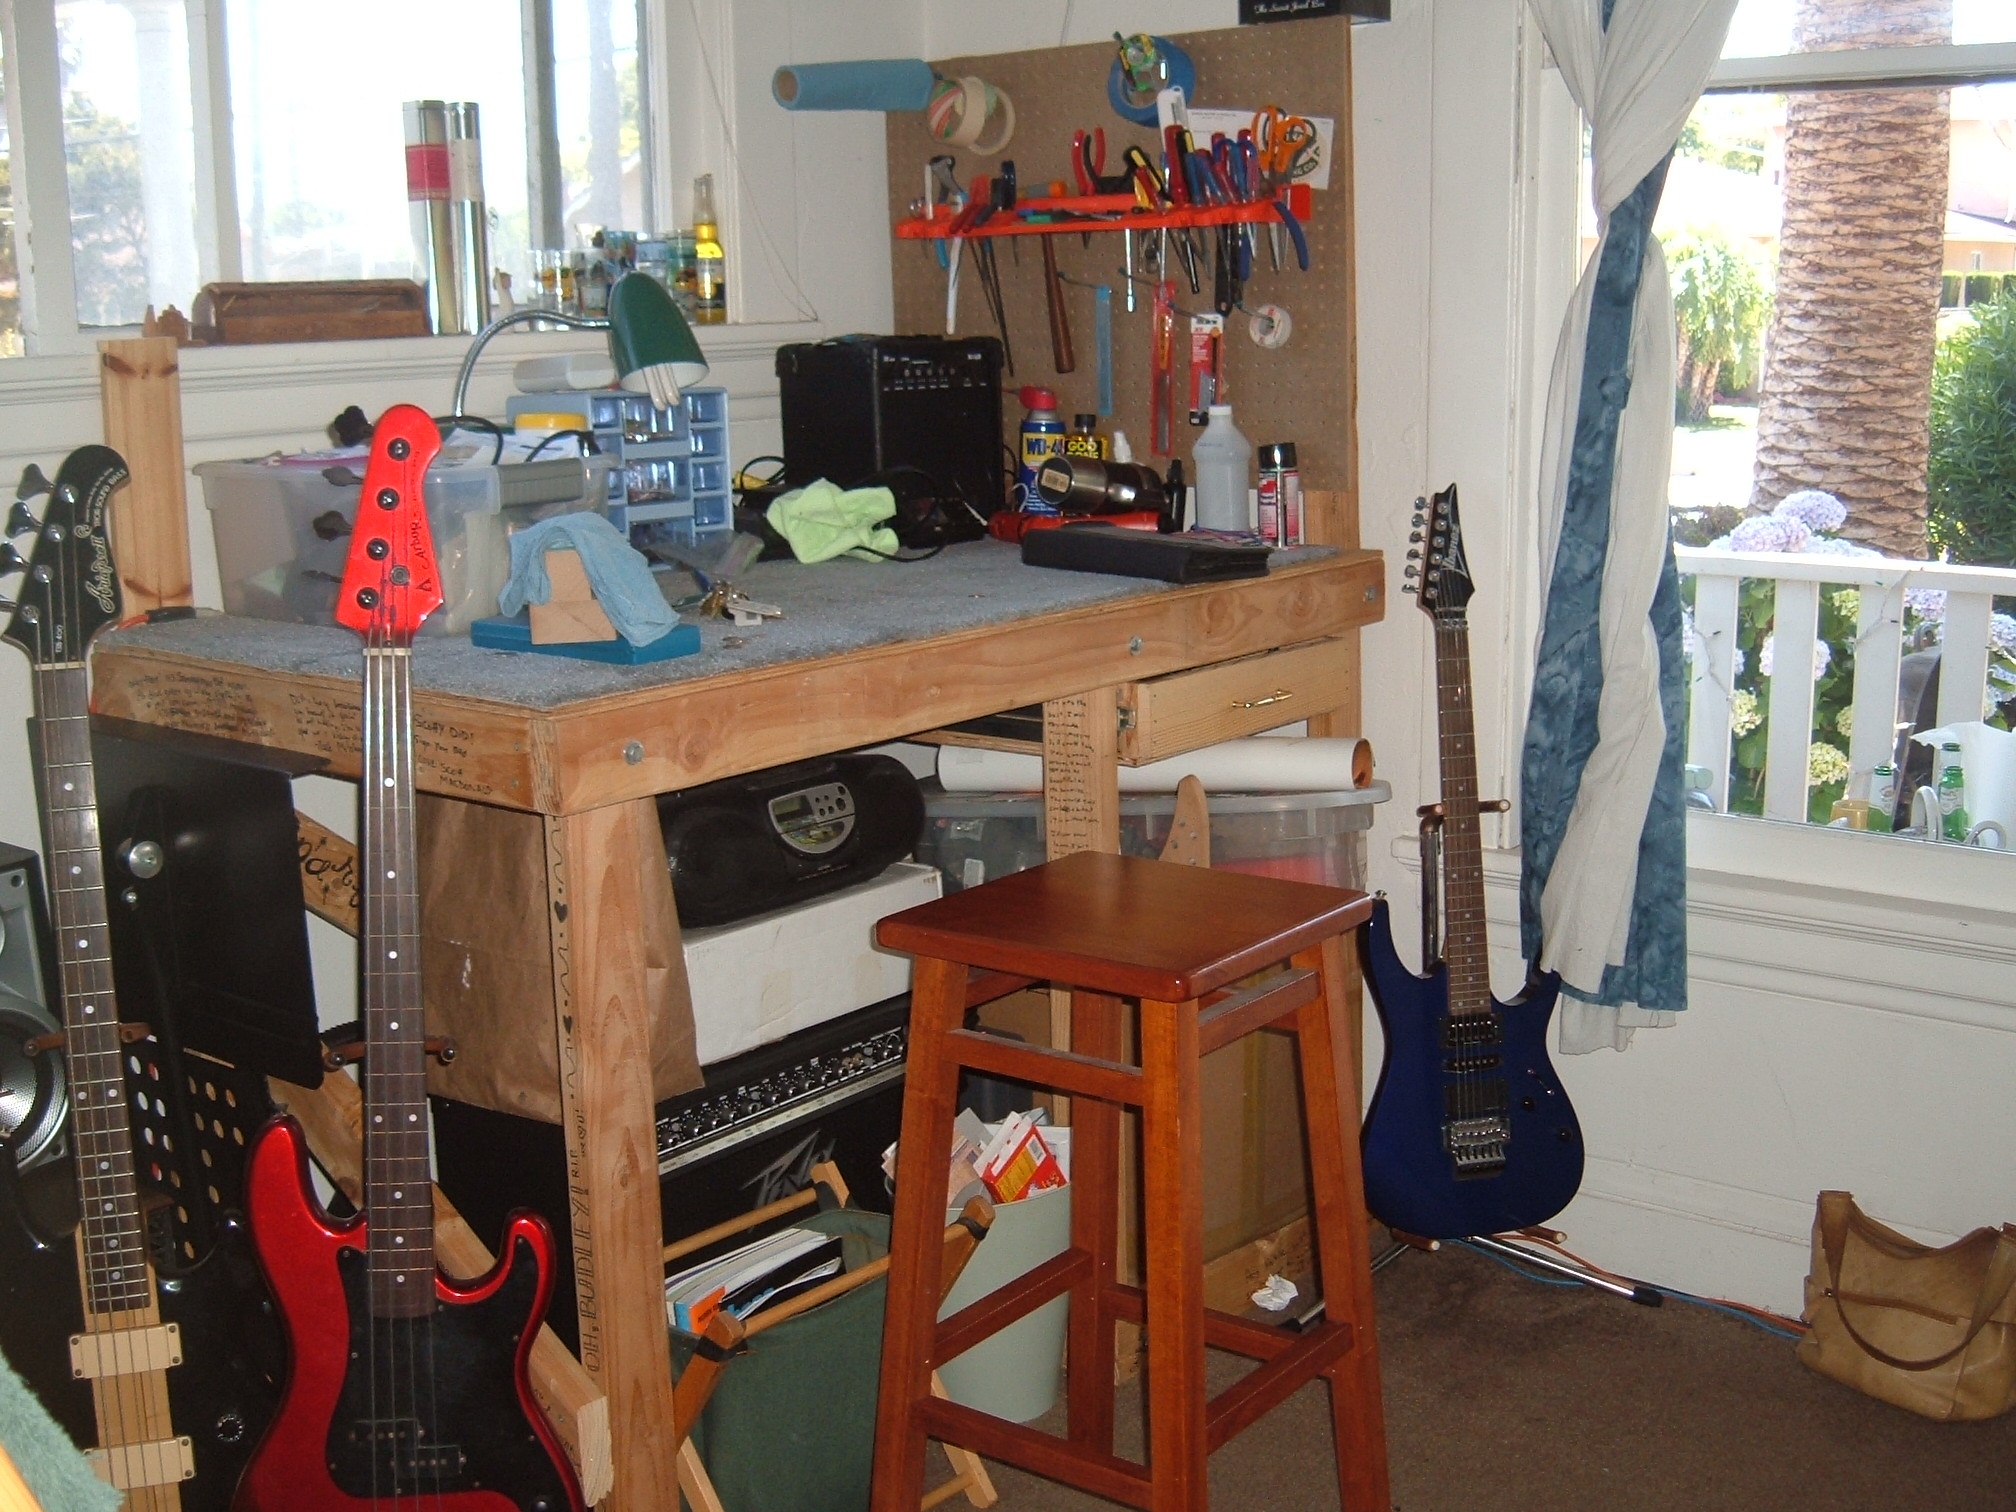
July 07:
new workbench installed and suitably cluttered
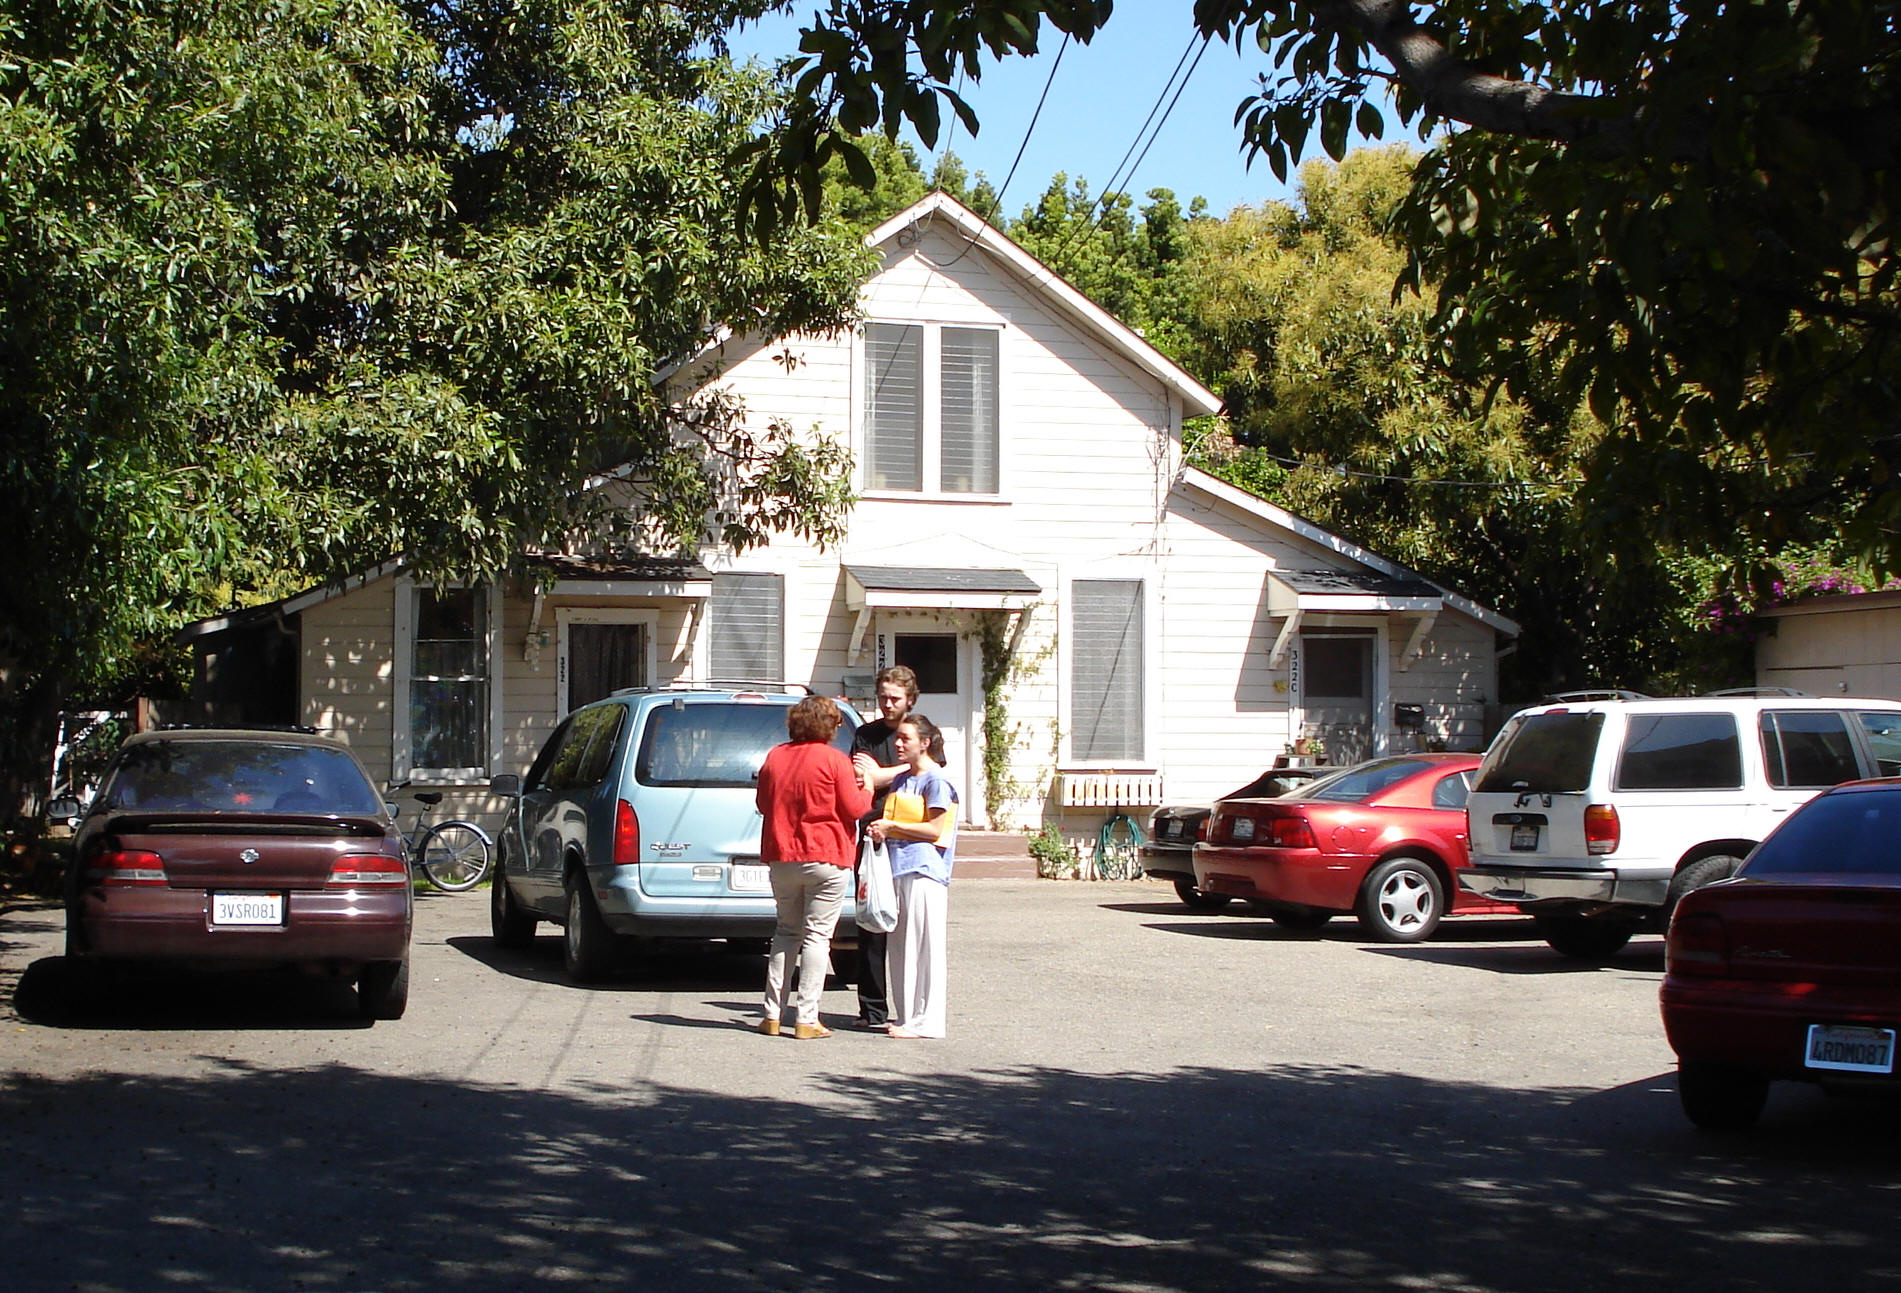
The starting point:
The Plan
Click picture for full image, or click here for Visio file.
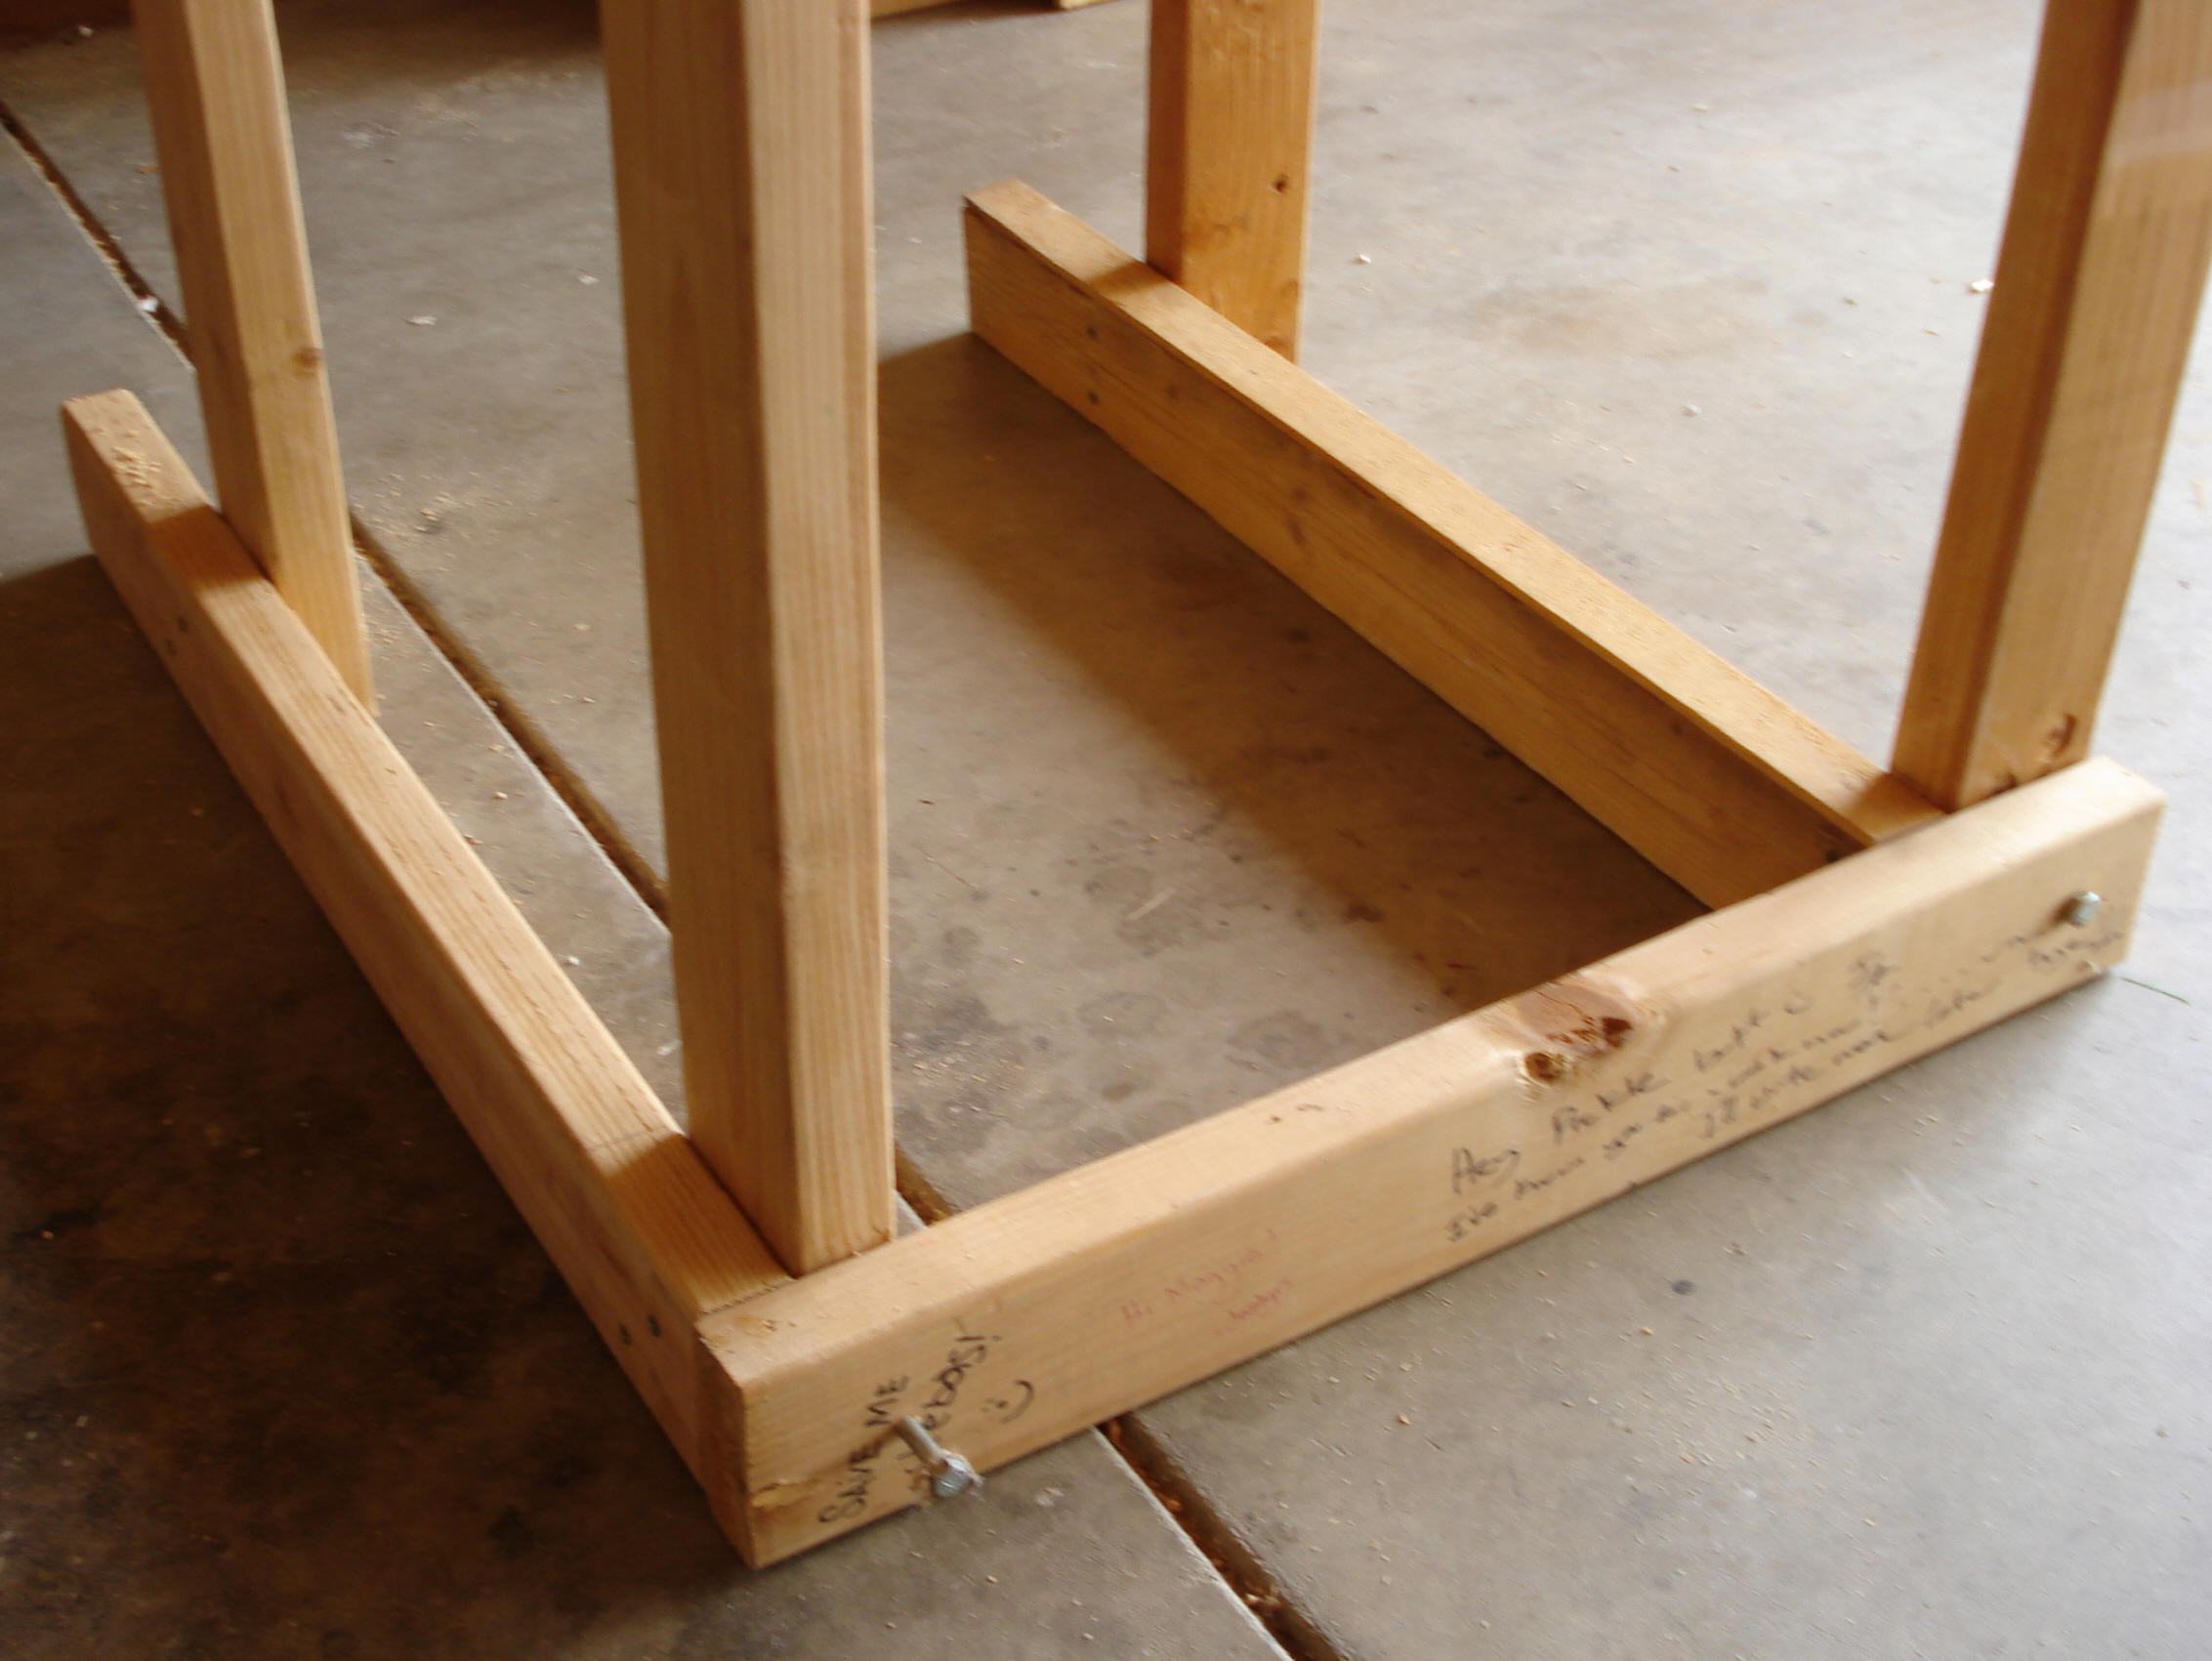
Assembly Instructions
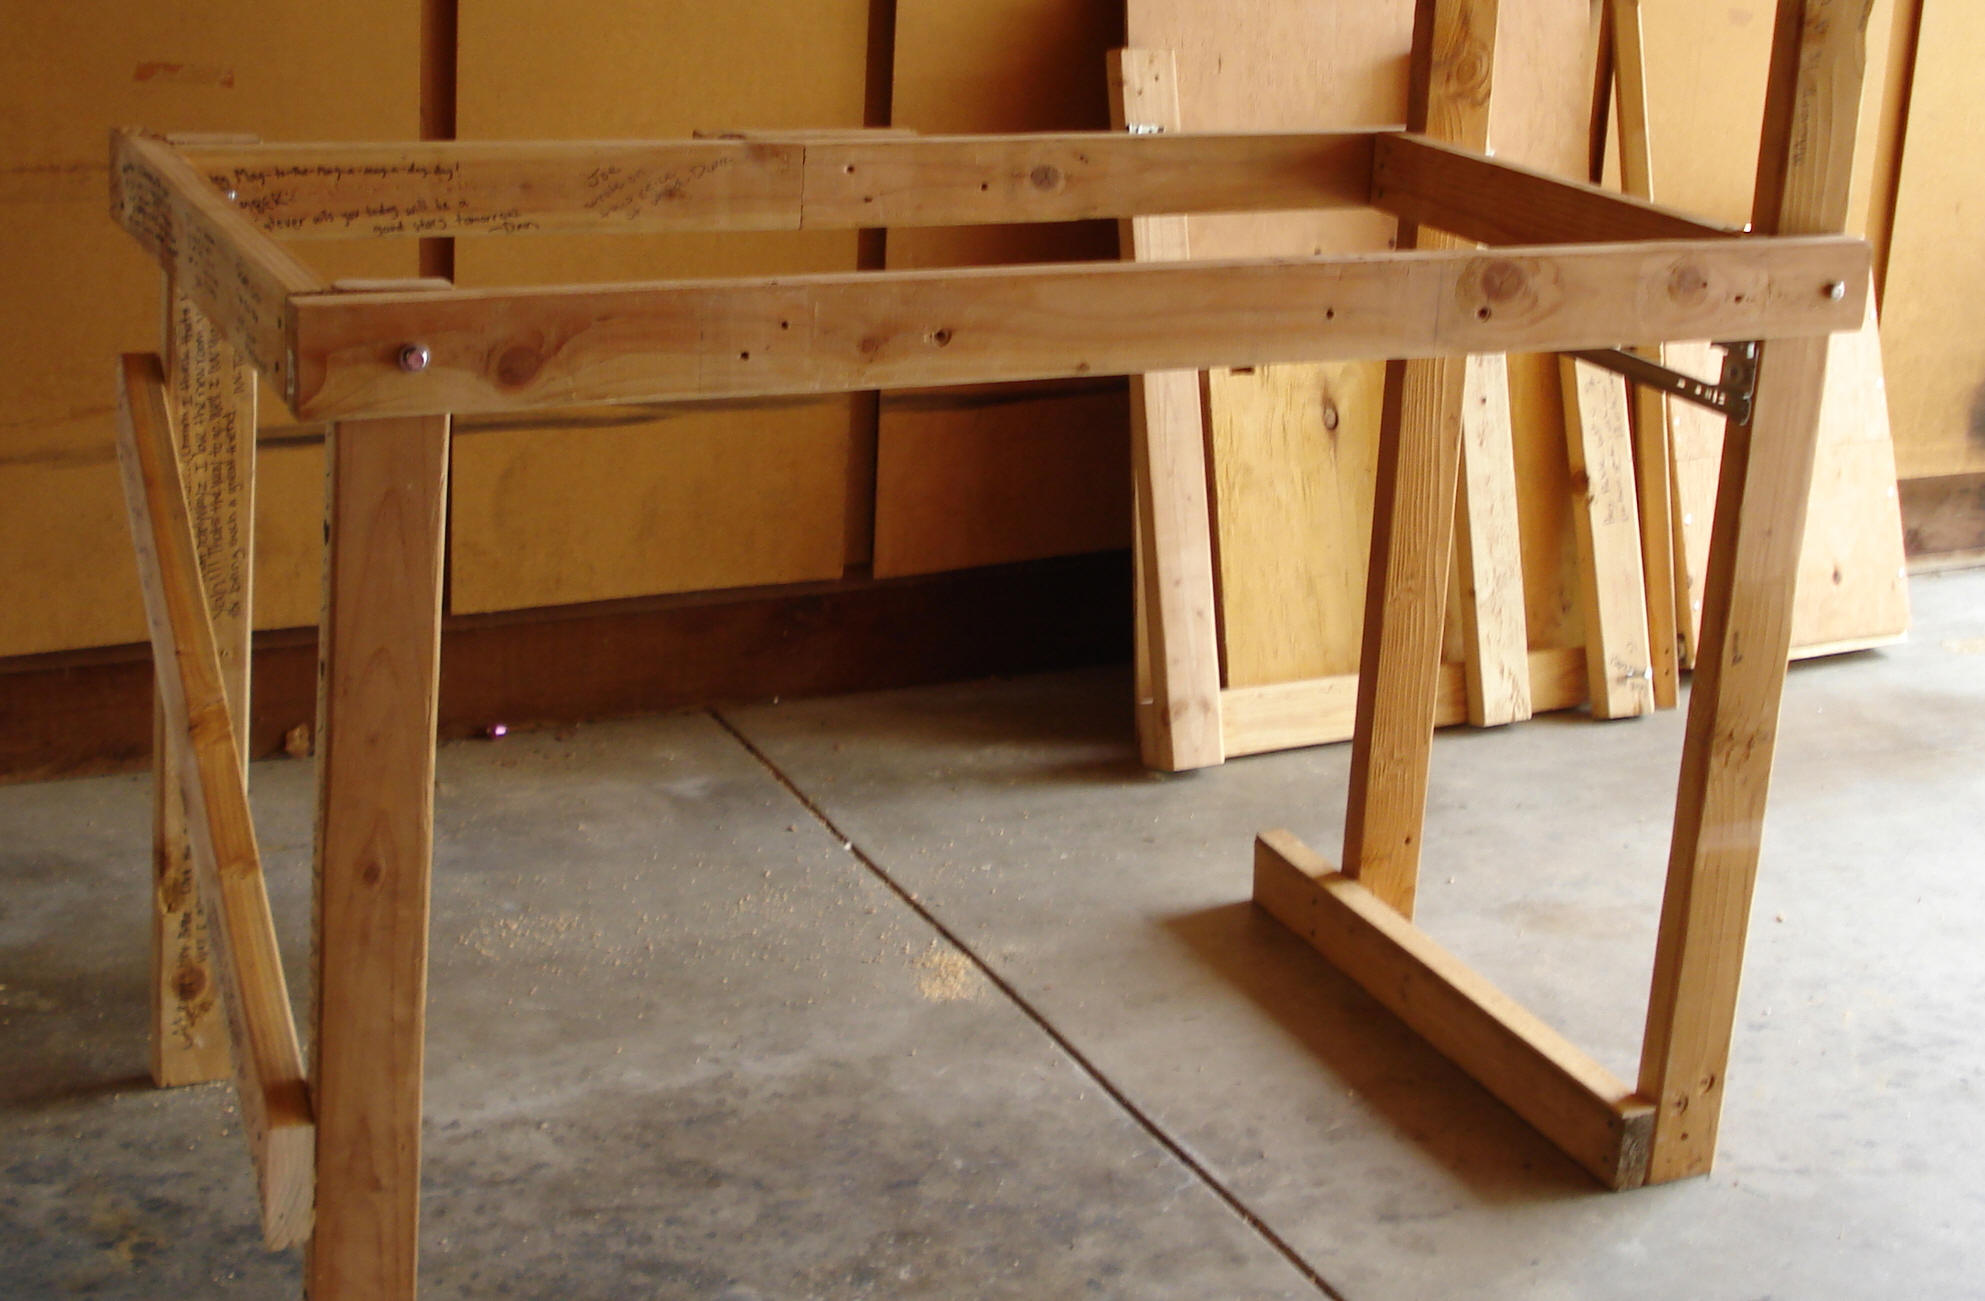 1.
Stand the two end sections. Join with front and rear rails, secure with
bolts.
1.
Stand the two end sections. Join with front and rear rails, secure with
bolts.
Don't tighten bolts fully until everything is in place.
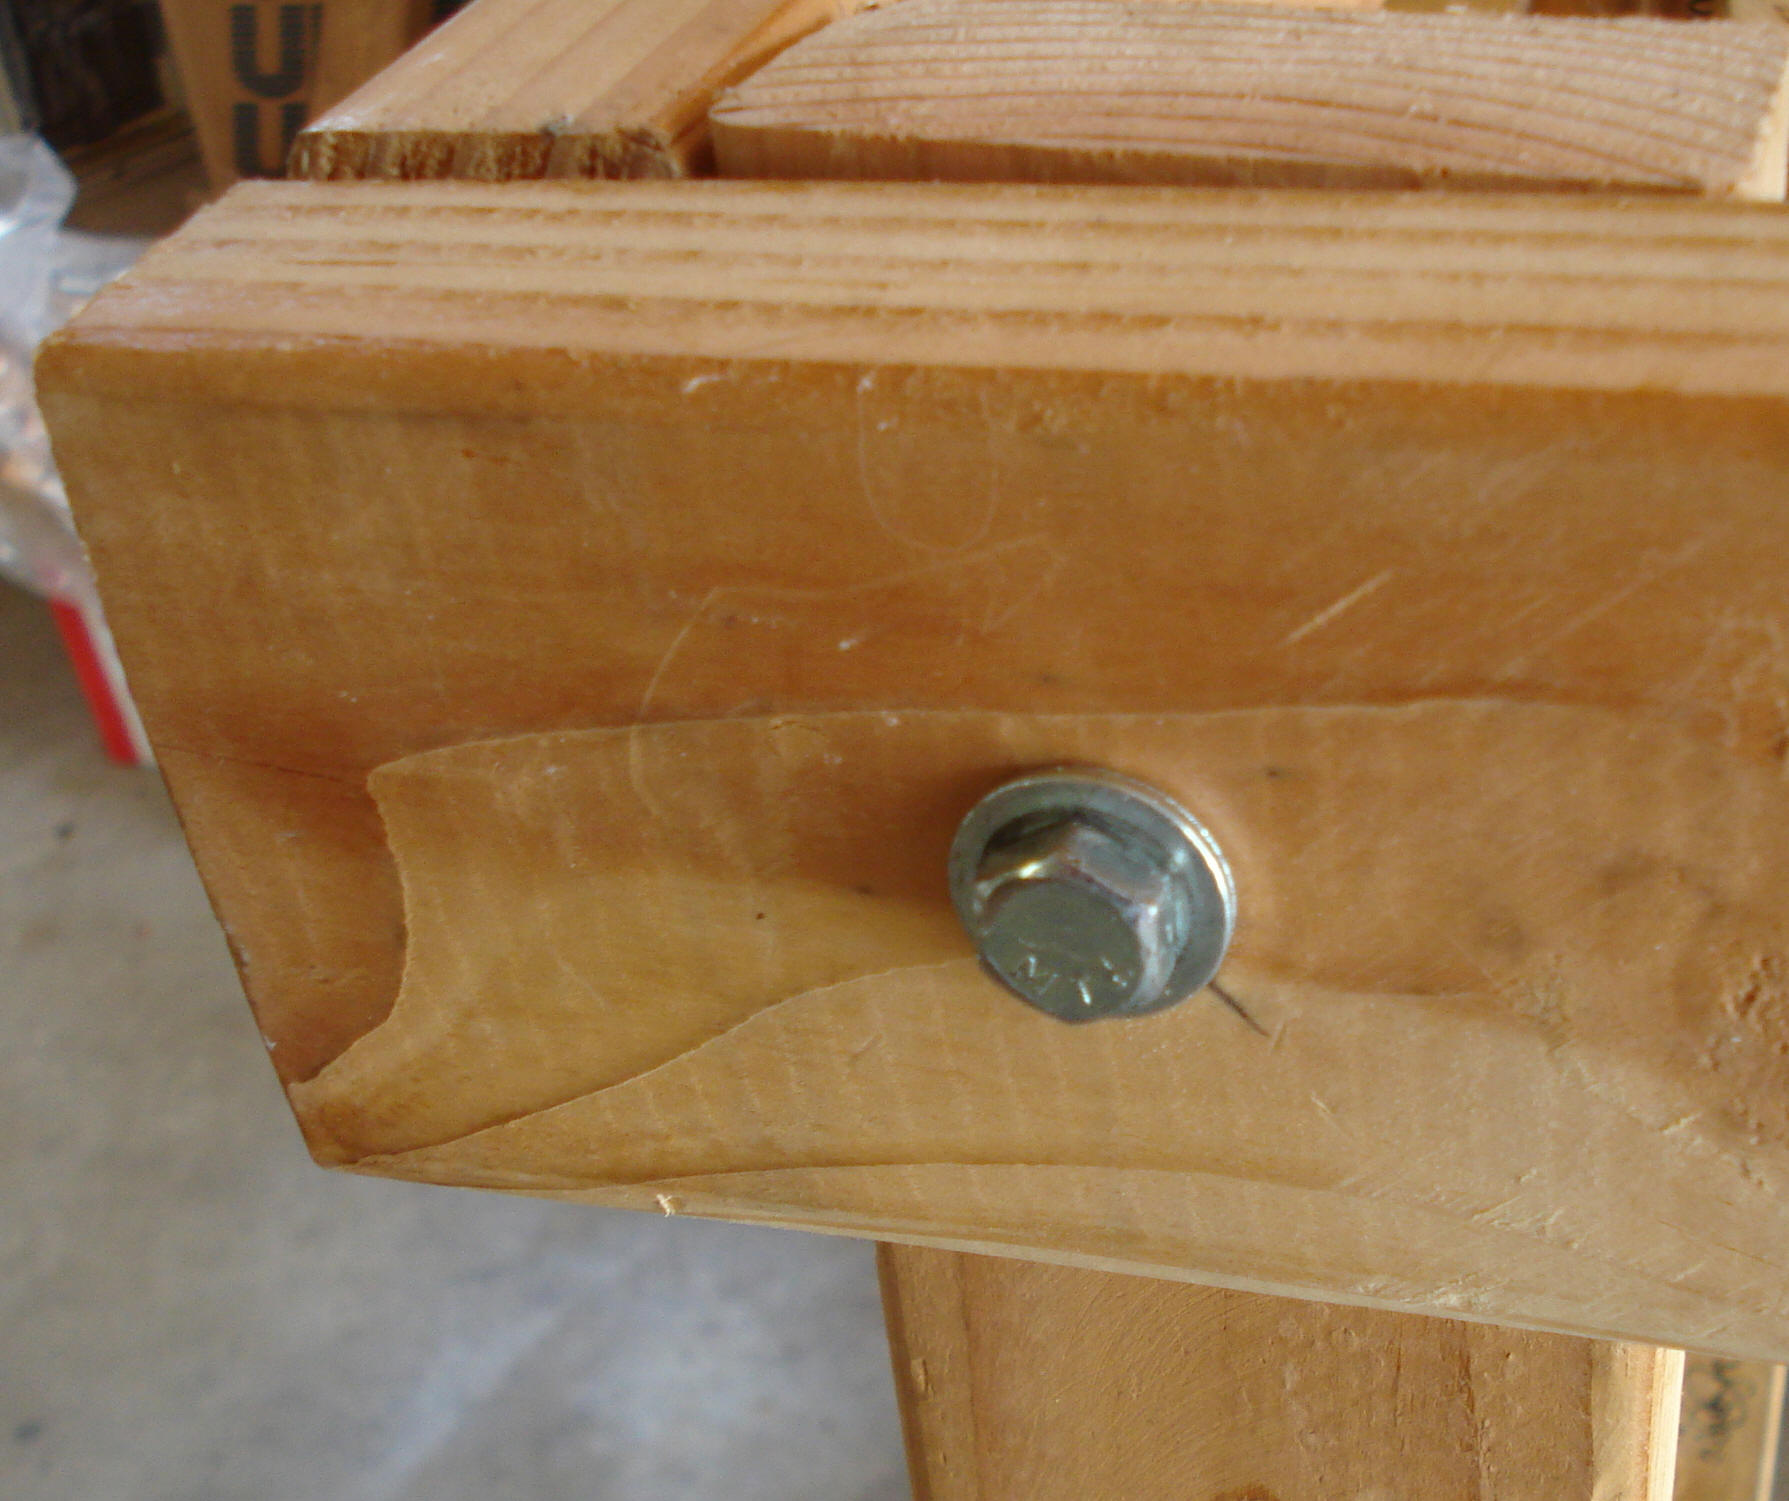
Washers go on the outside:
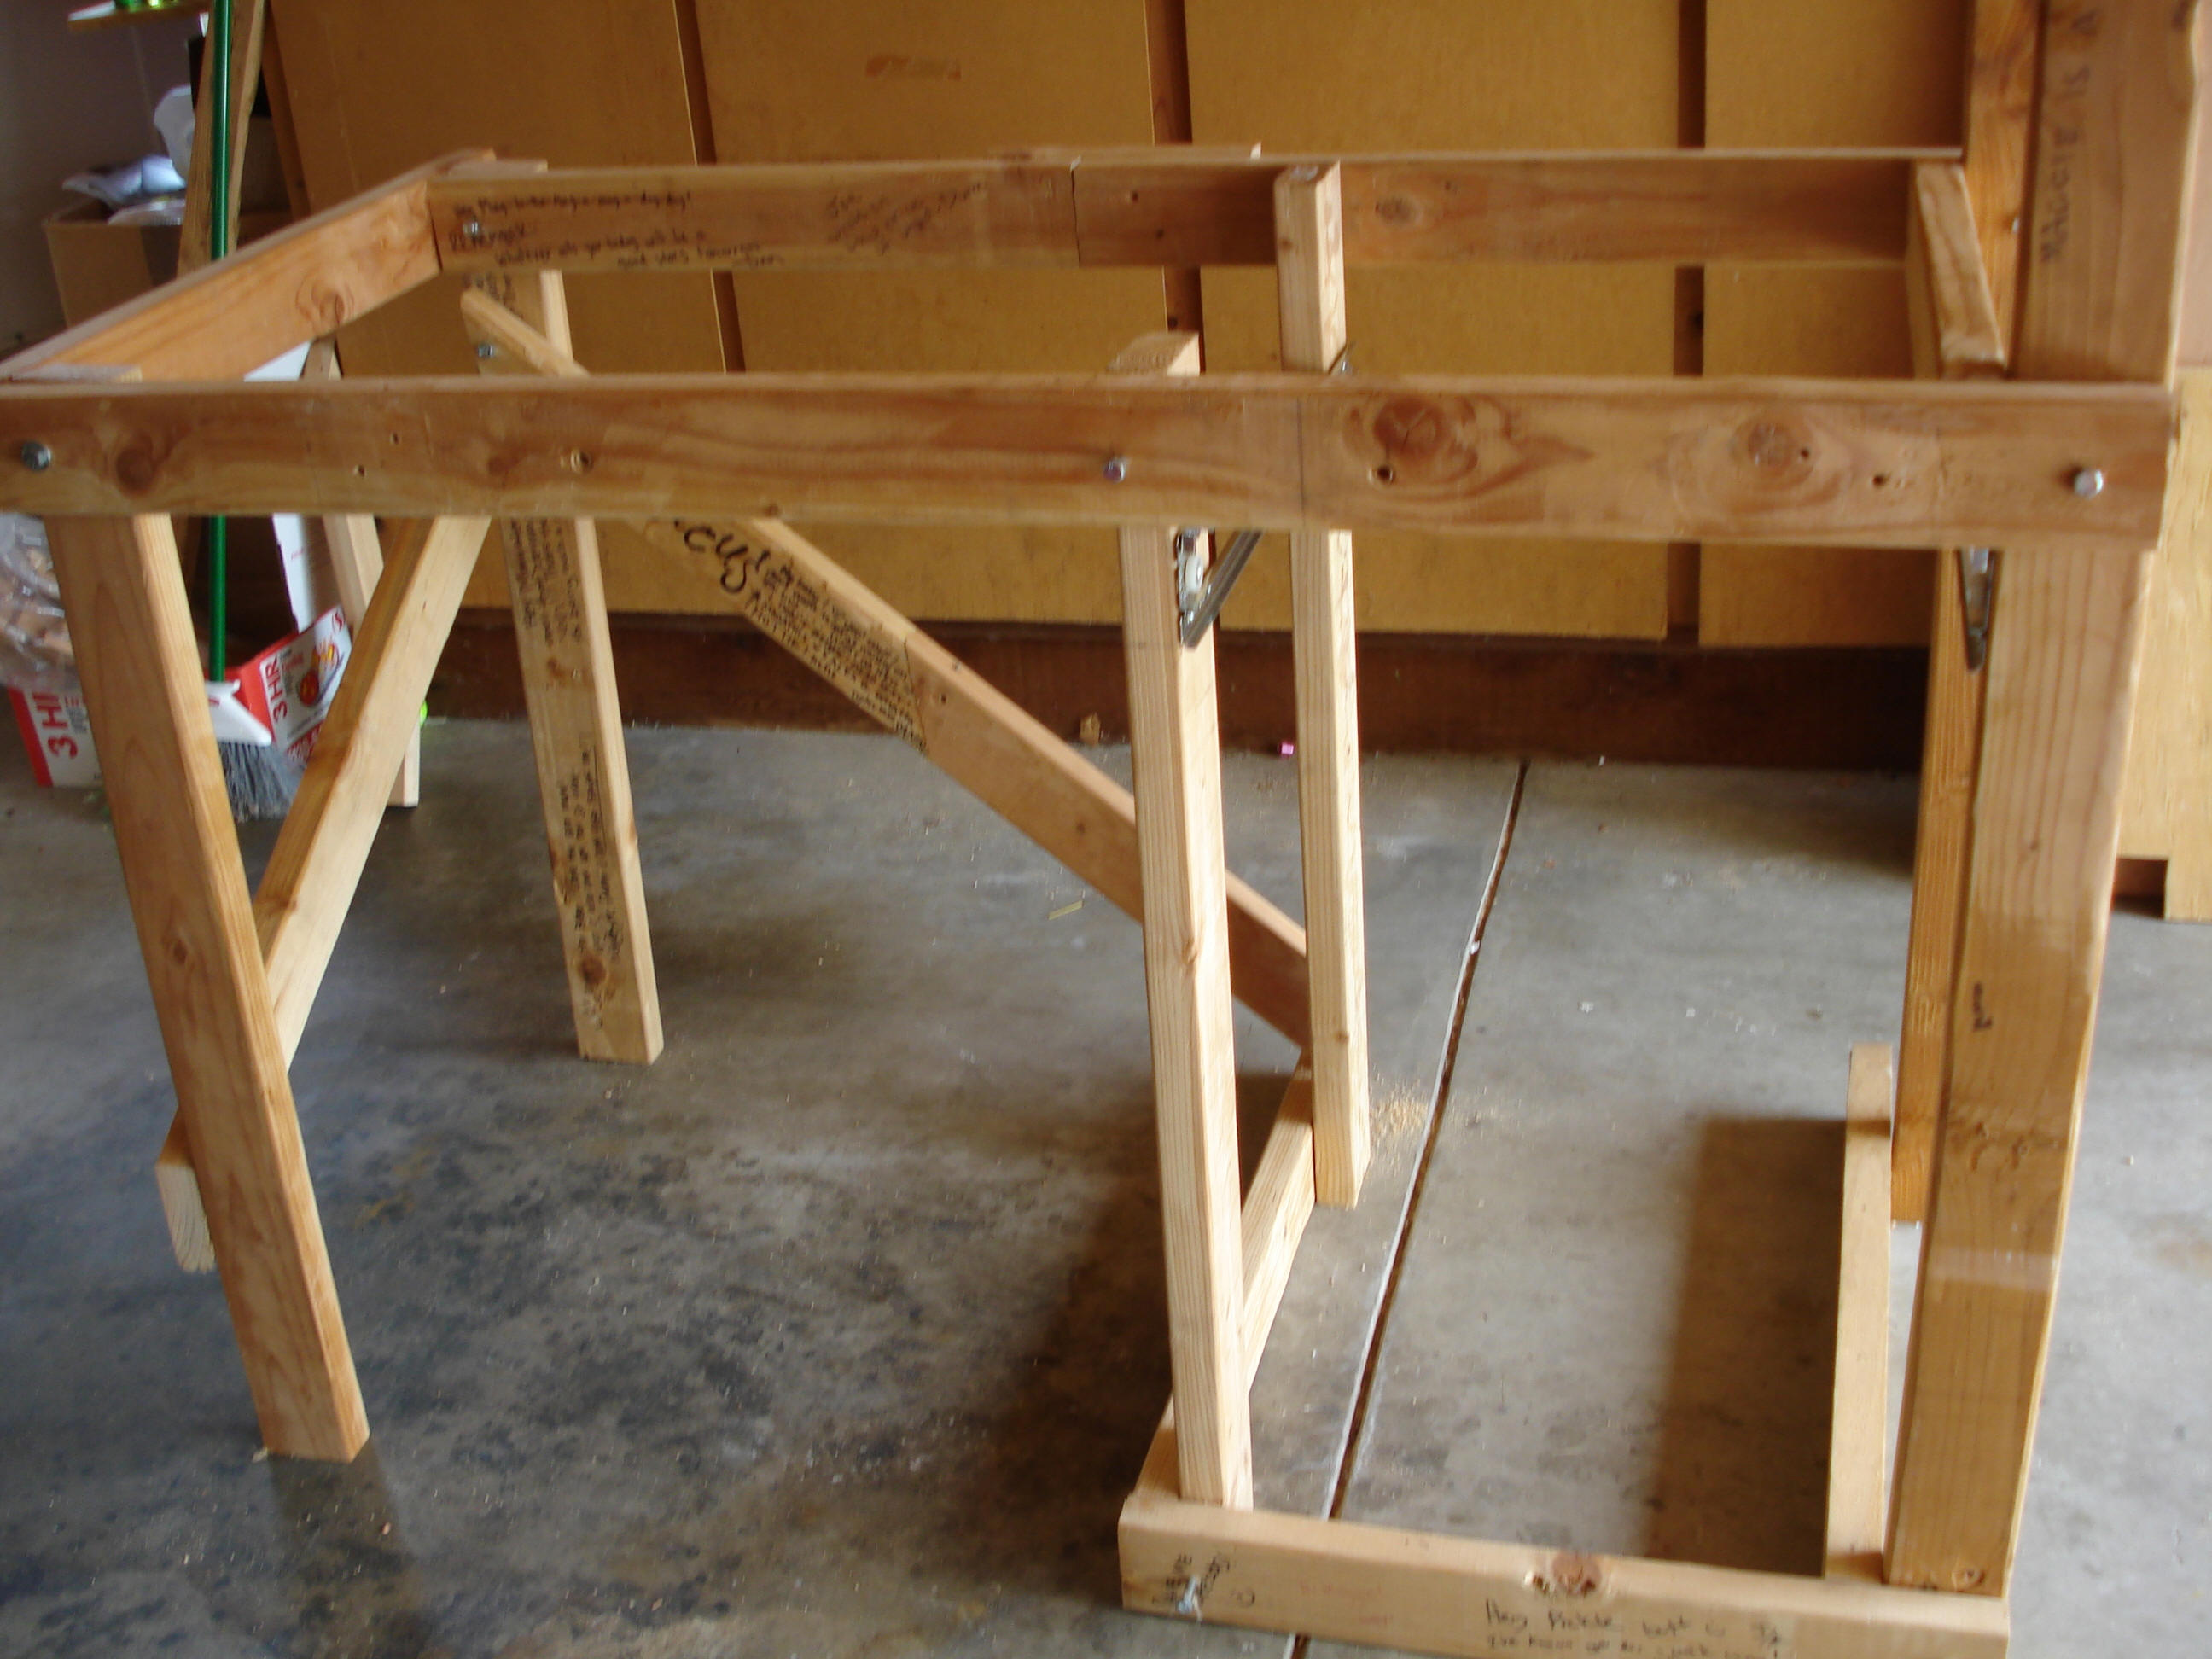
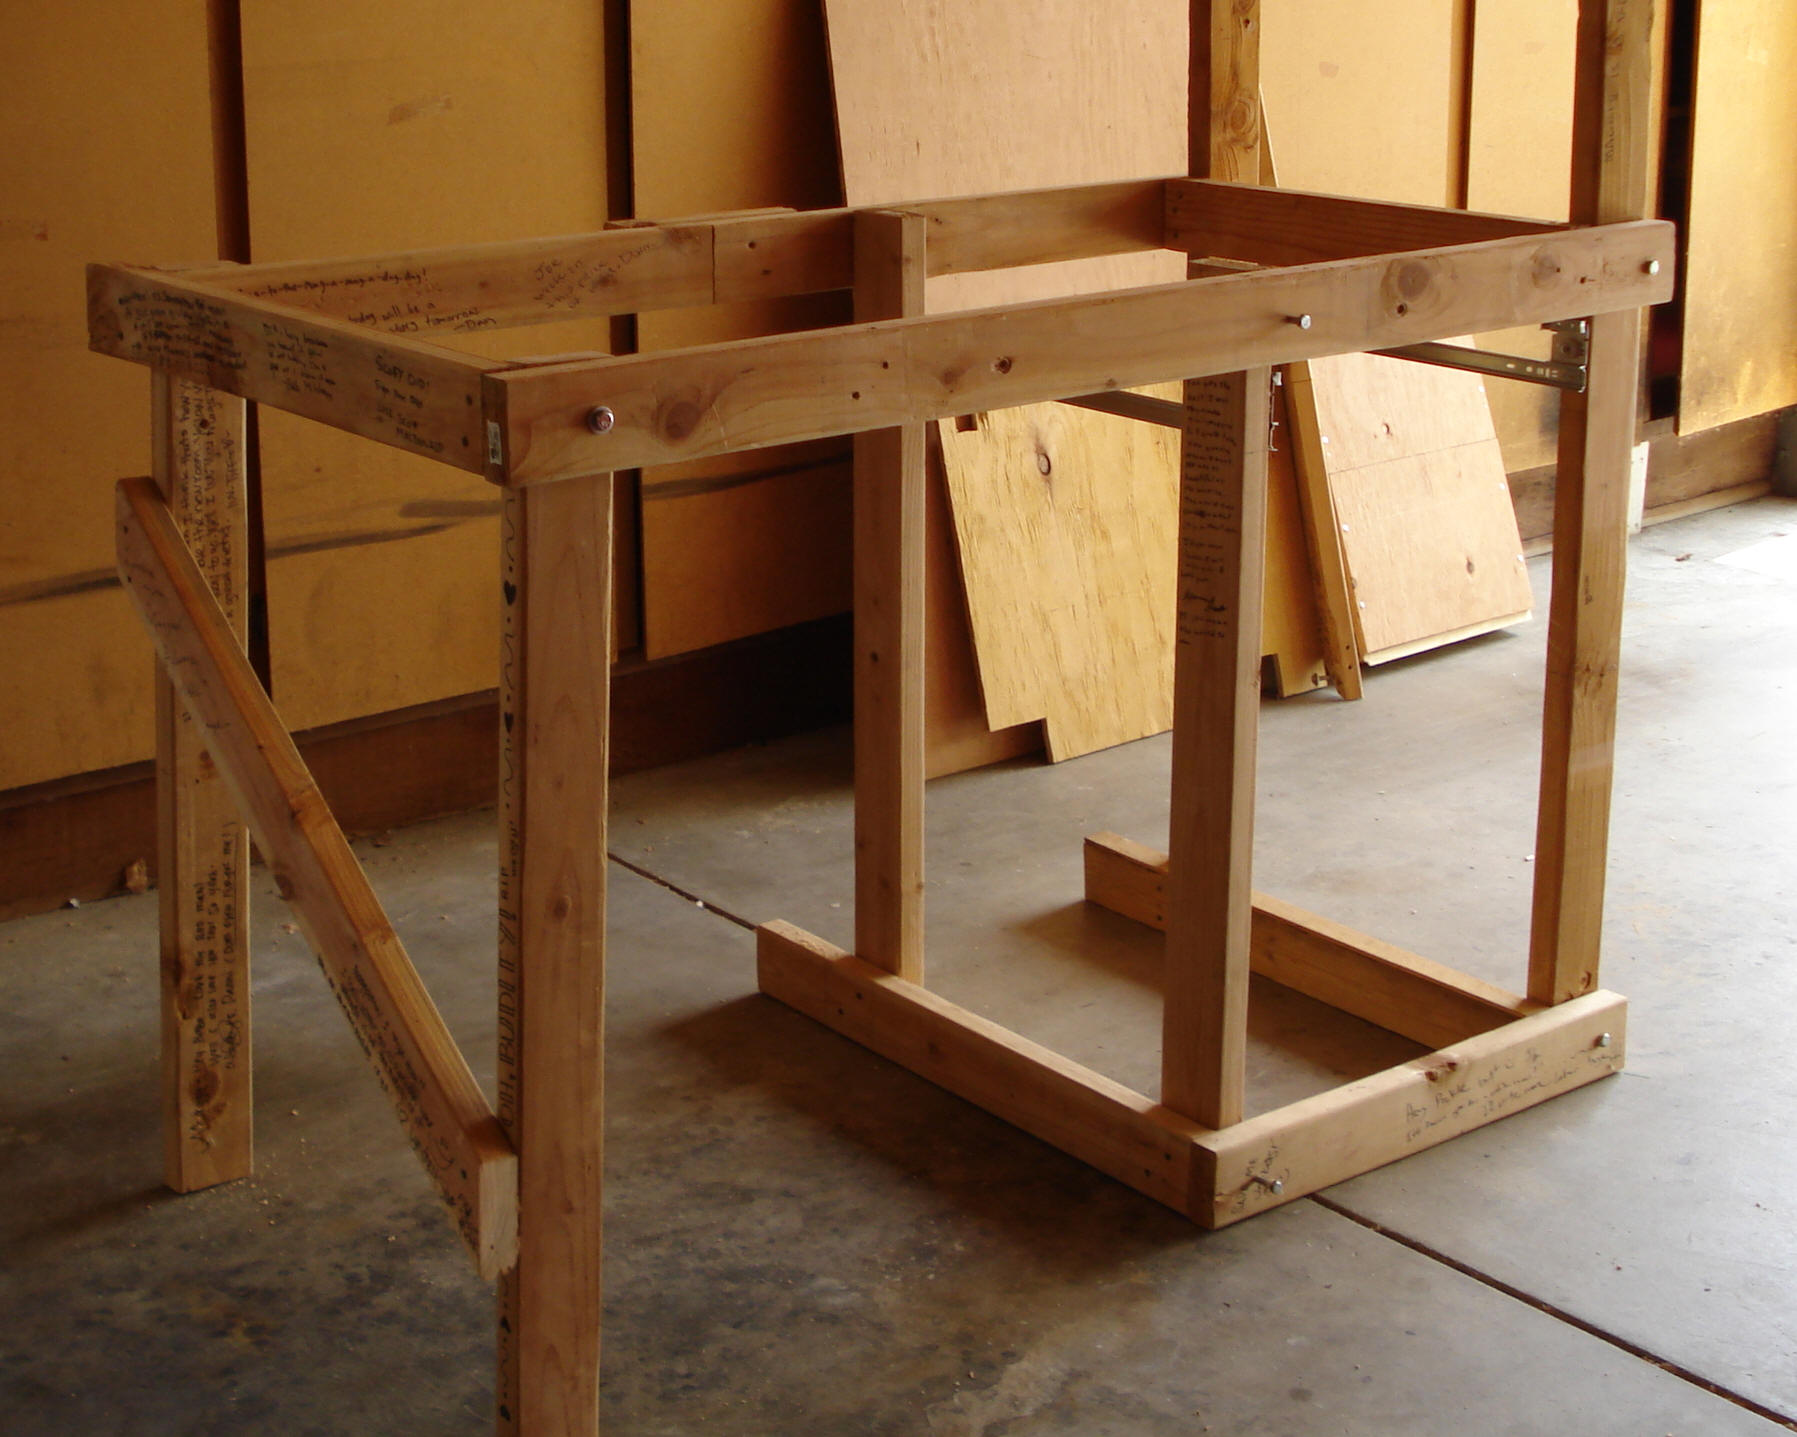 2.
Position the middle section between the rails, secure with lag screws:
2.
Position the middle section between the rails, secure with lag screws:
3. Attach front floor rail, secure with bolt (right) and lag screw (left).
 4.
Position floor shelf. Push all the way toward the middle, so both edges
sit on floor rails. Straighten so front edge is parallel to front rail.
4.
Position floor shelf. Push all the way toward the middle, so both edges
sit on floor rails. Straighten so front edge is parallel to front rail.
5. Attach rear diagonal brace.
6. Tighten everything. Attach the floor shelf with 1" screws.
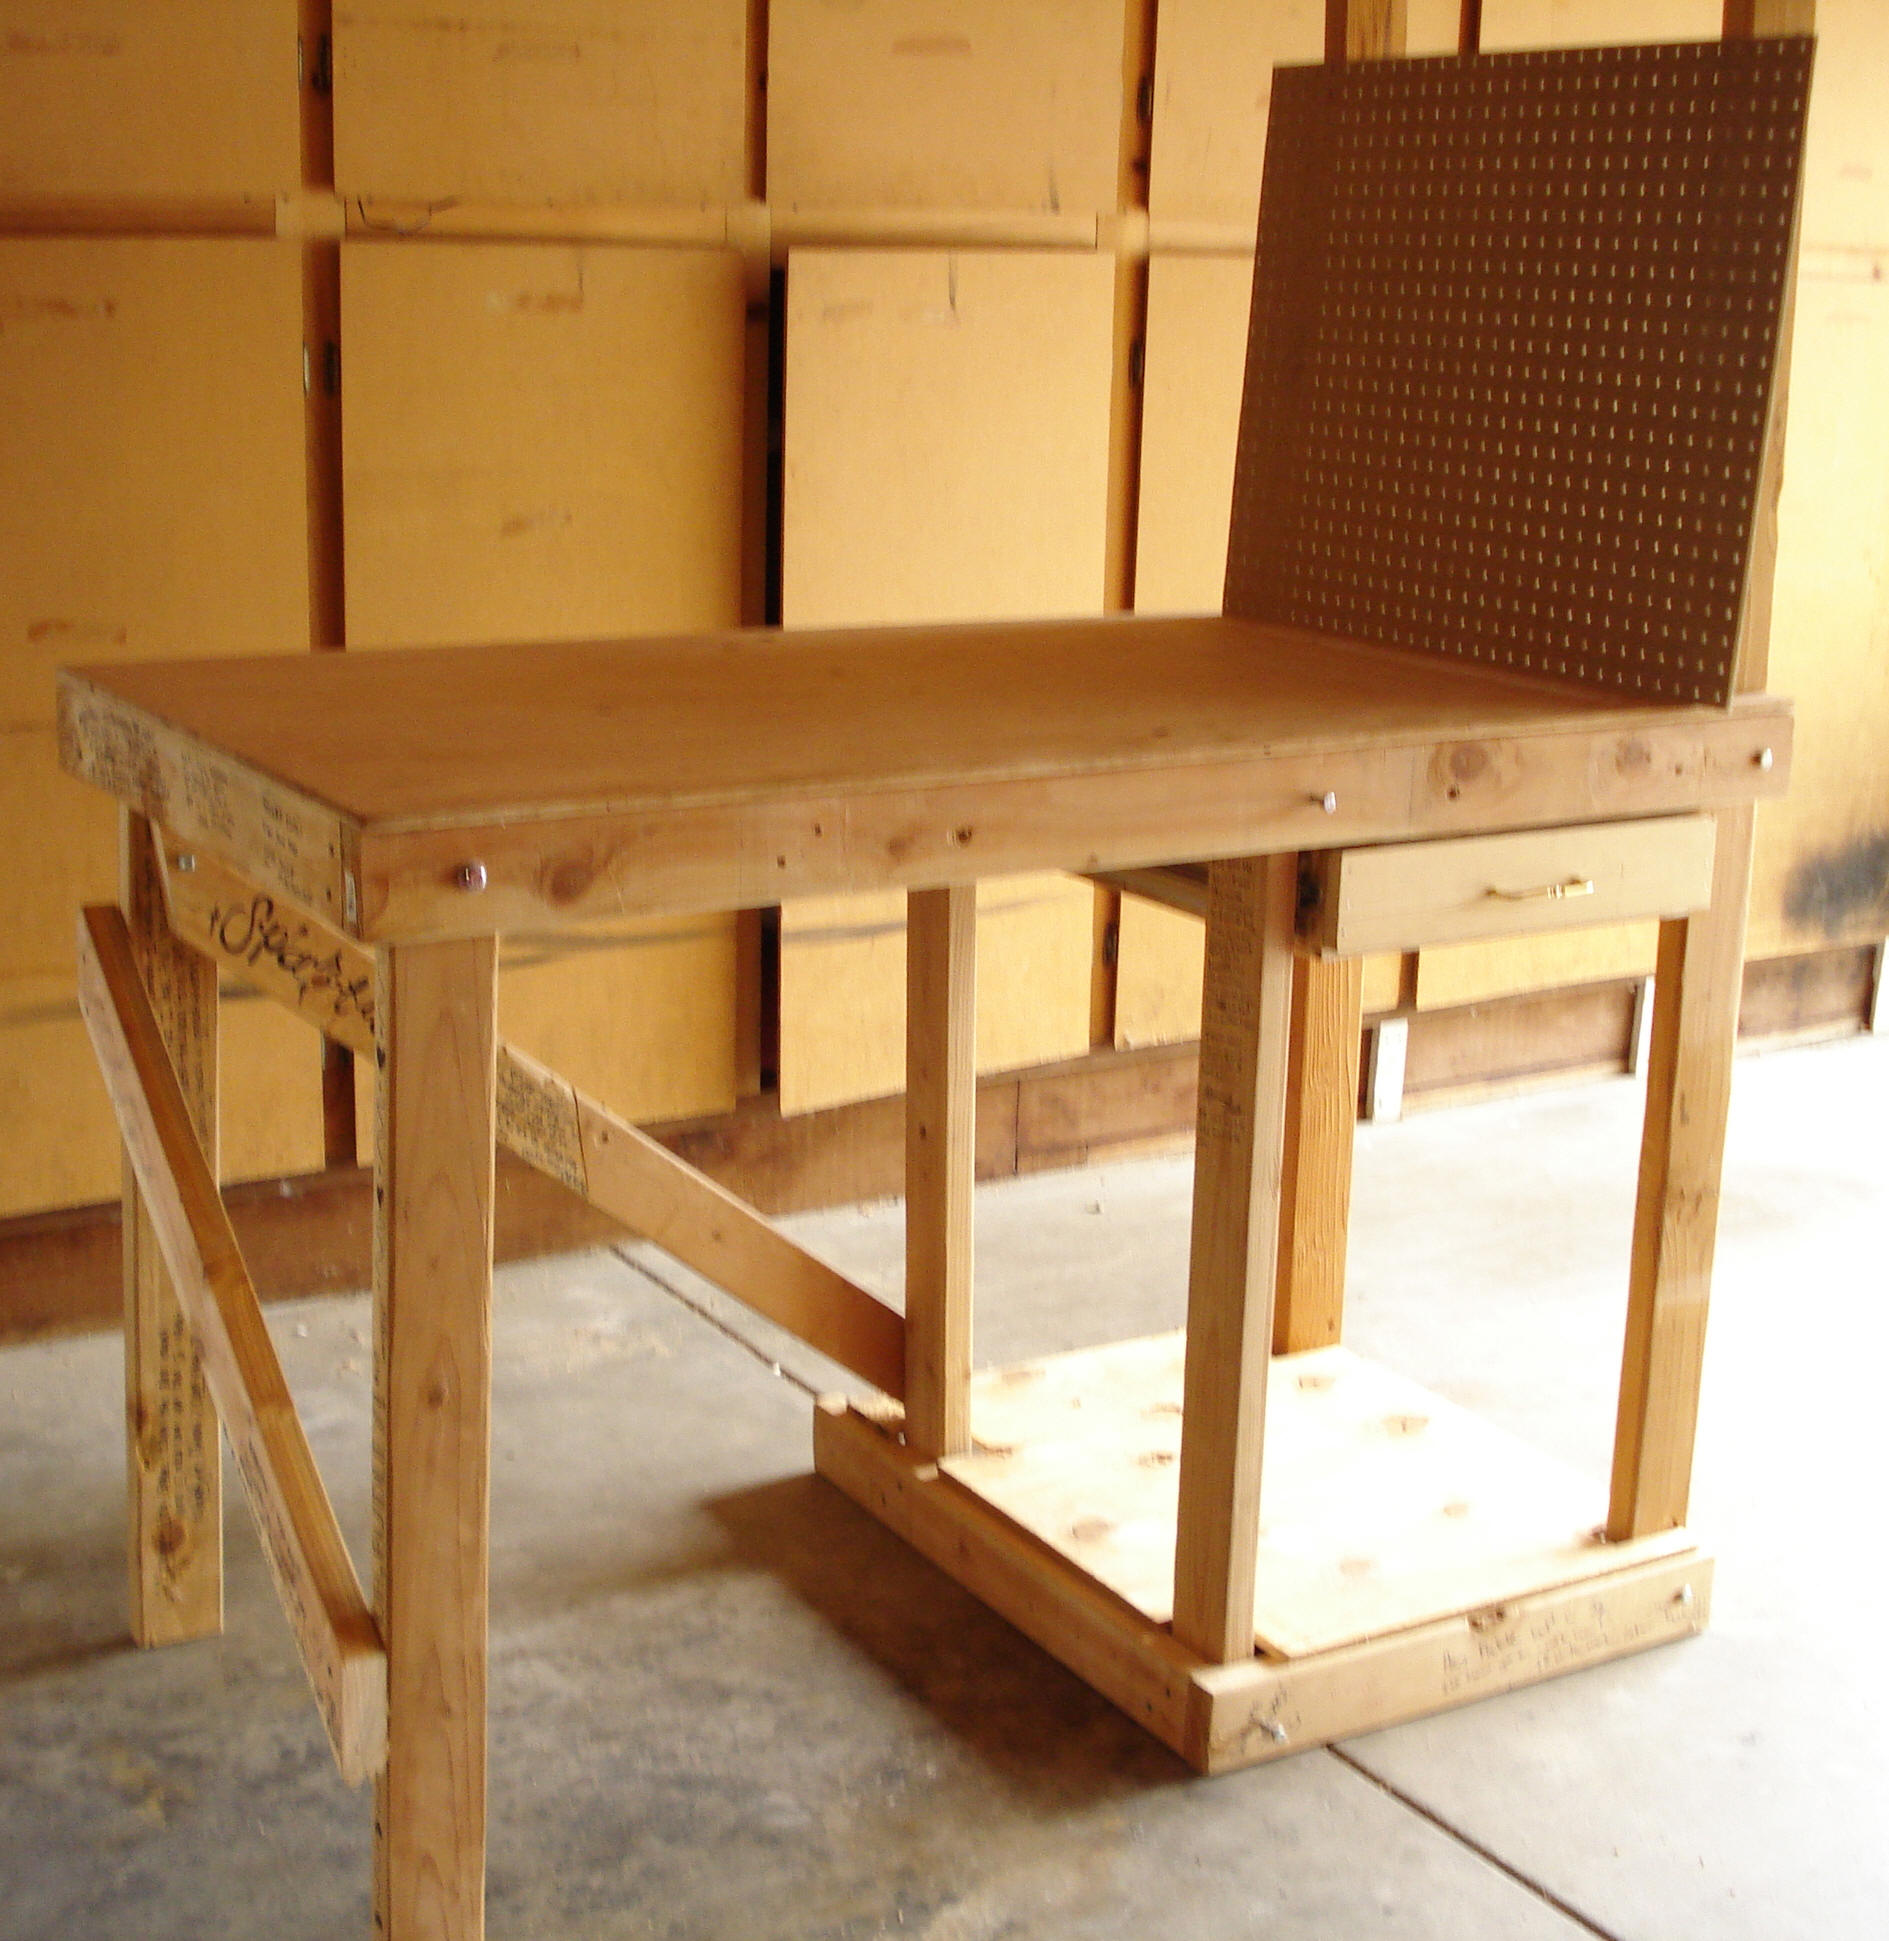
7. Put on the top. Attach with 1" screws.
 8.
Slide in the drawer.
8.
Slide in the drawer.
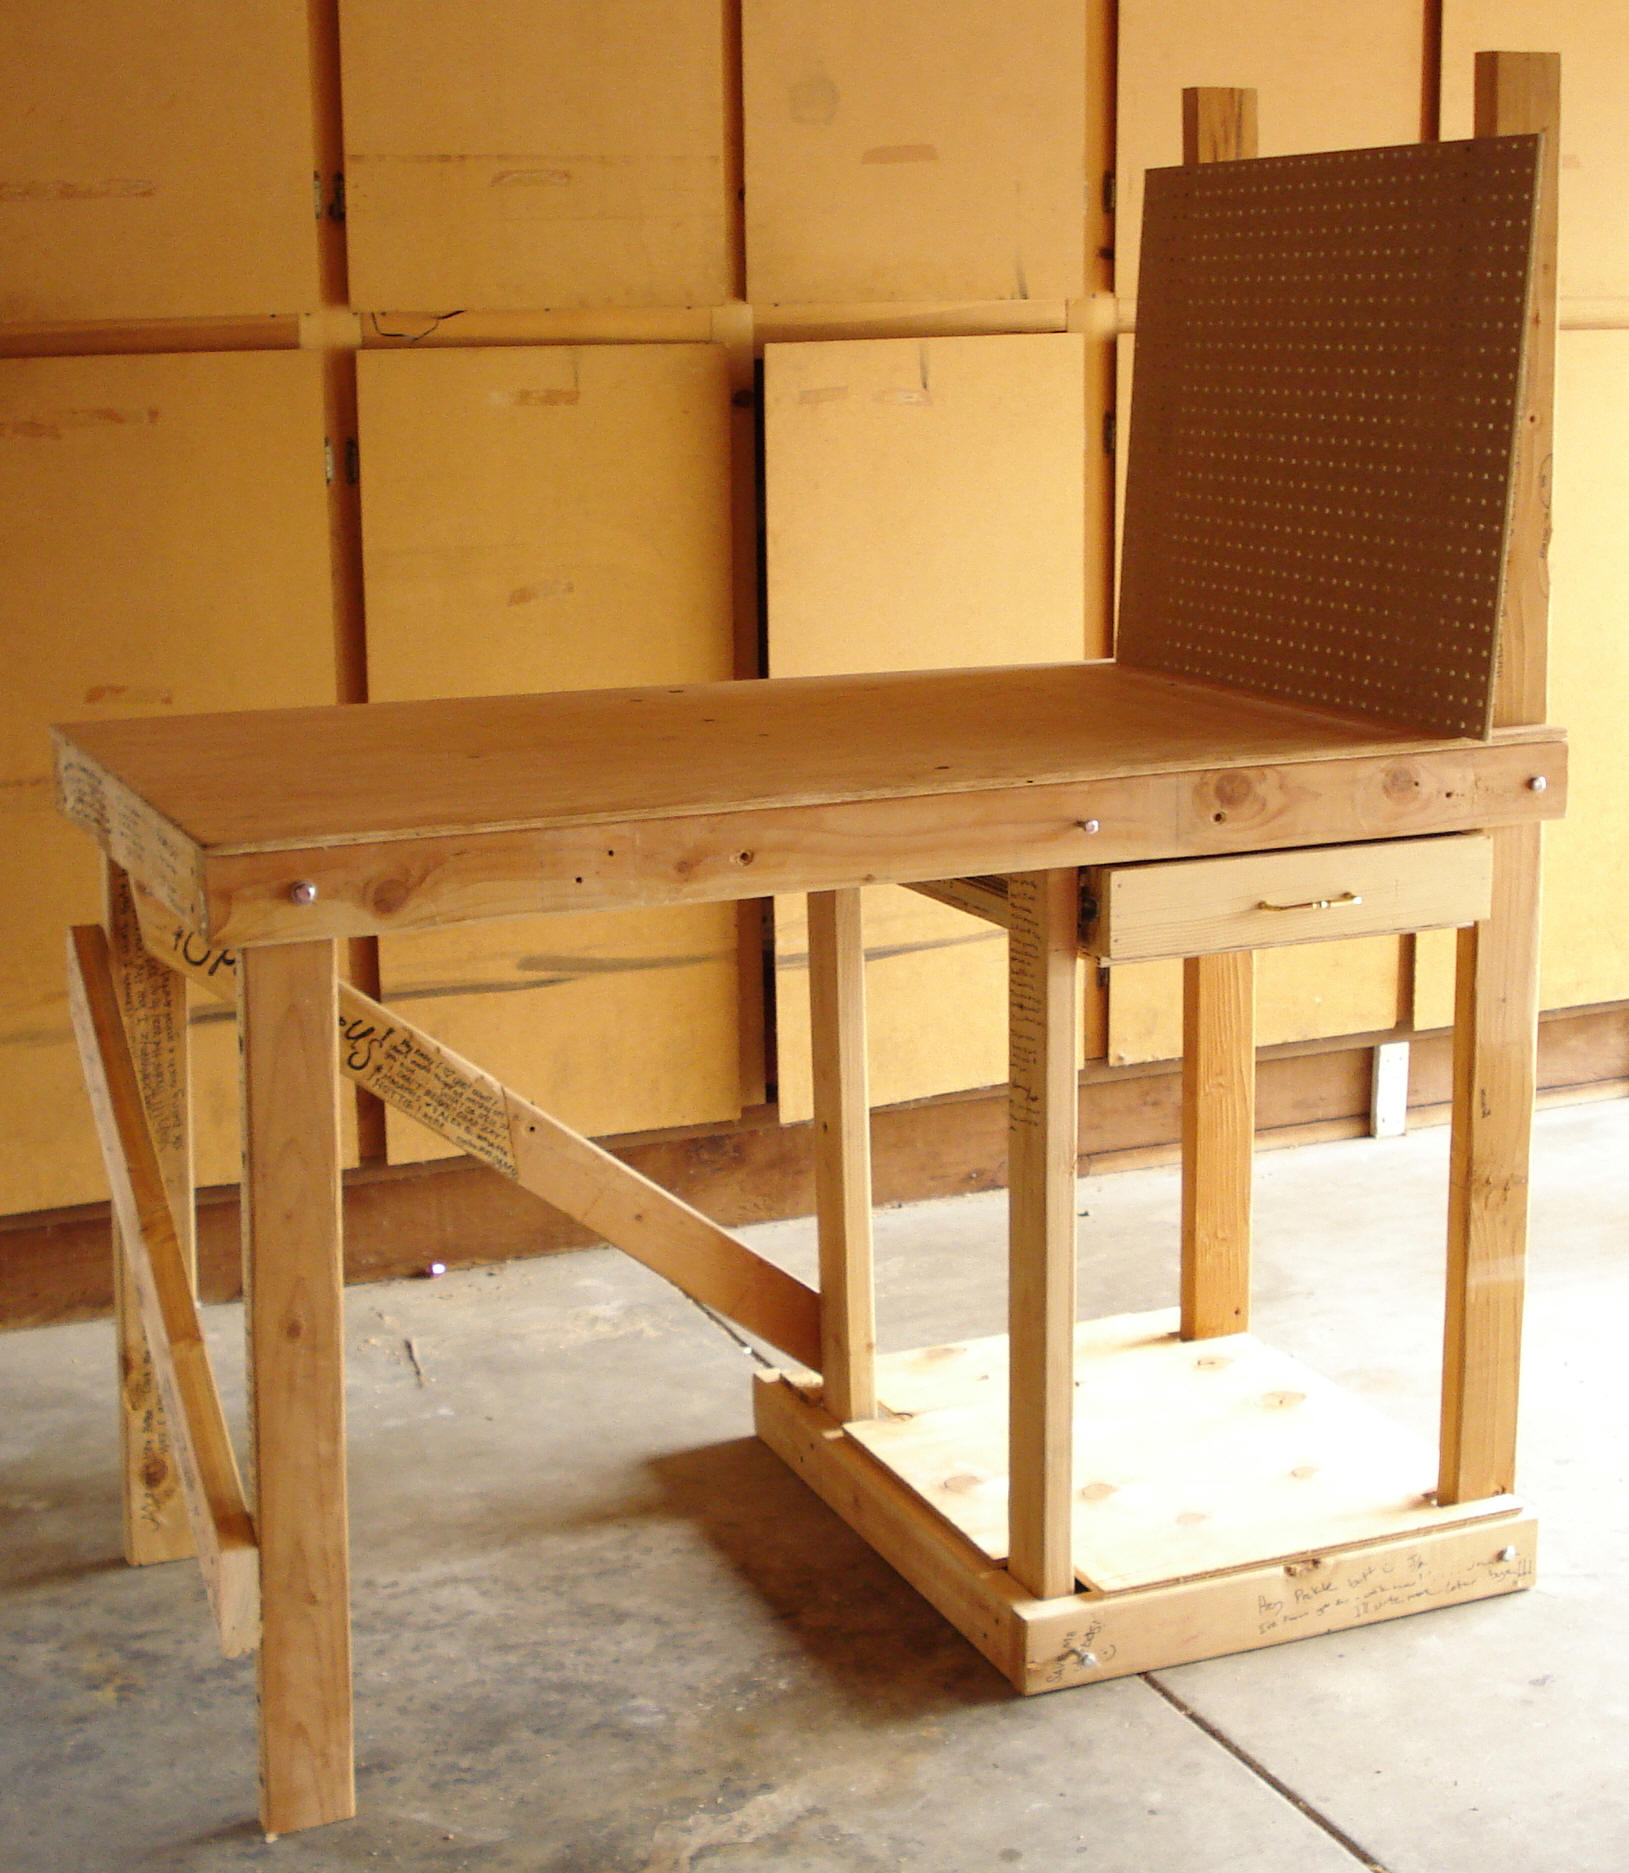
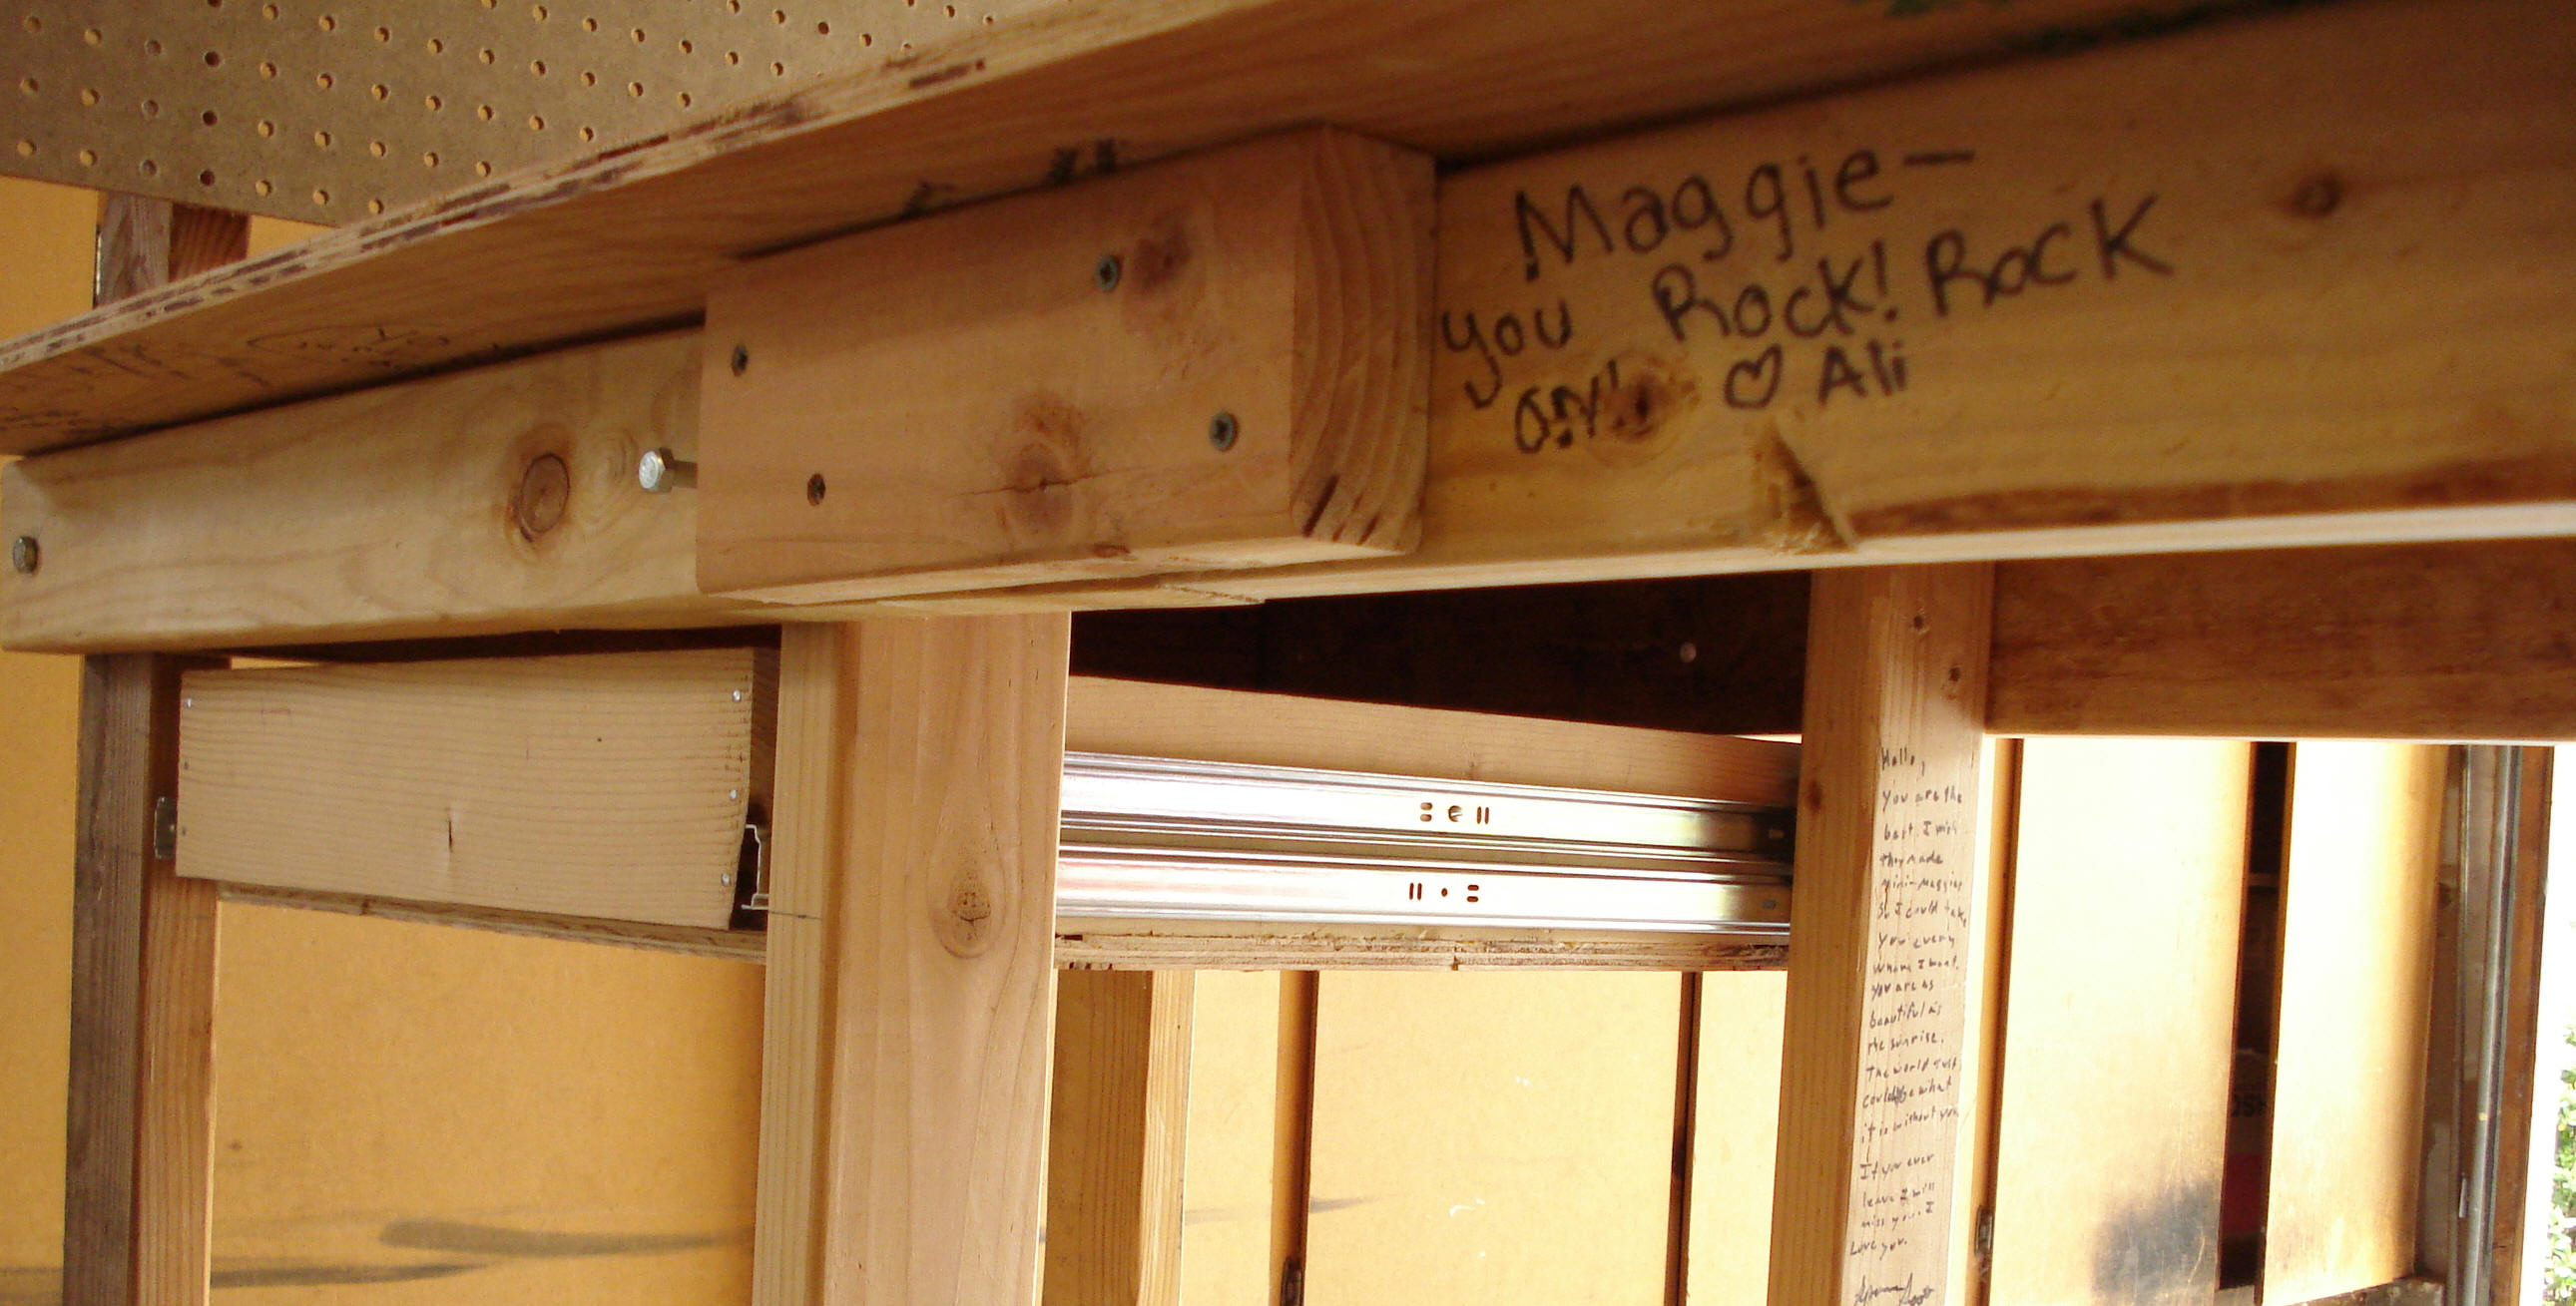
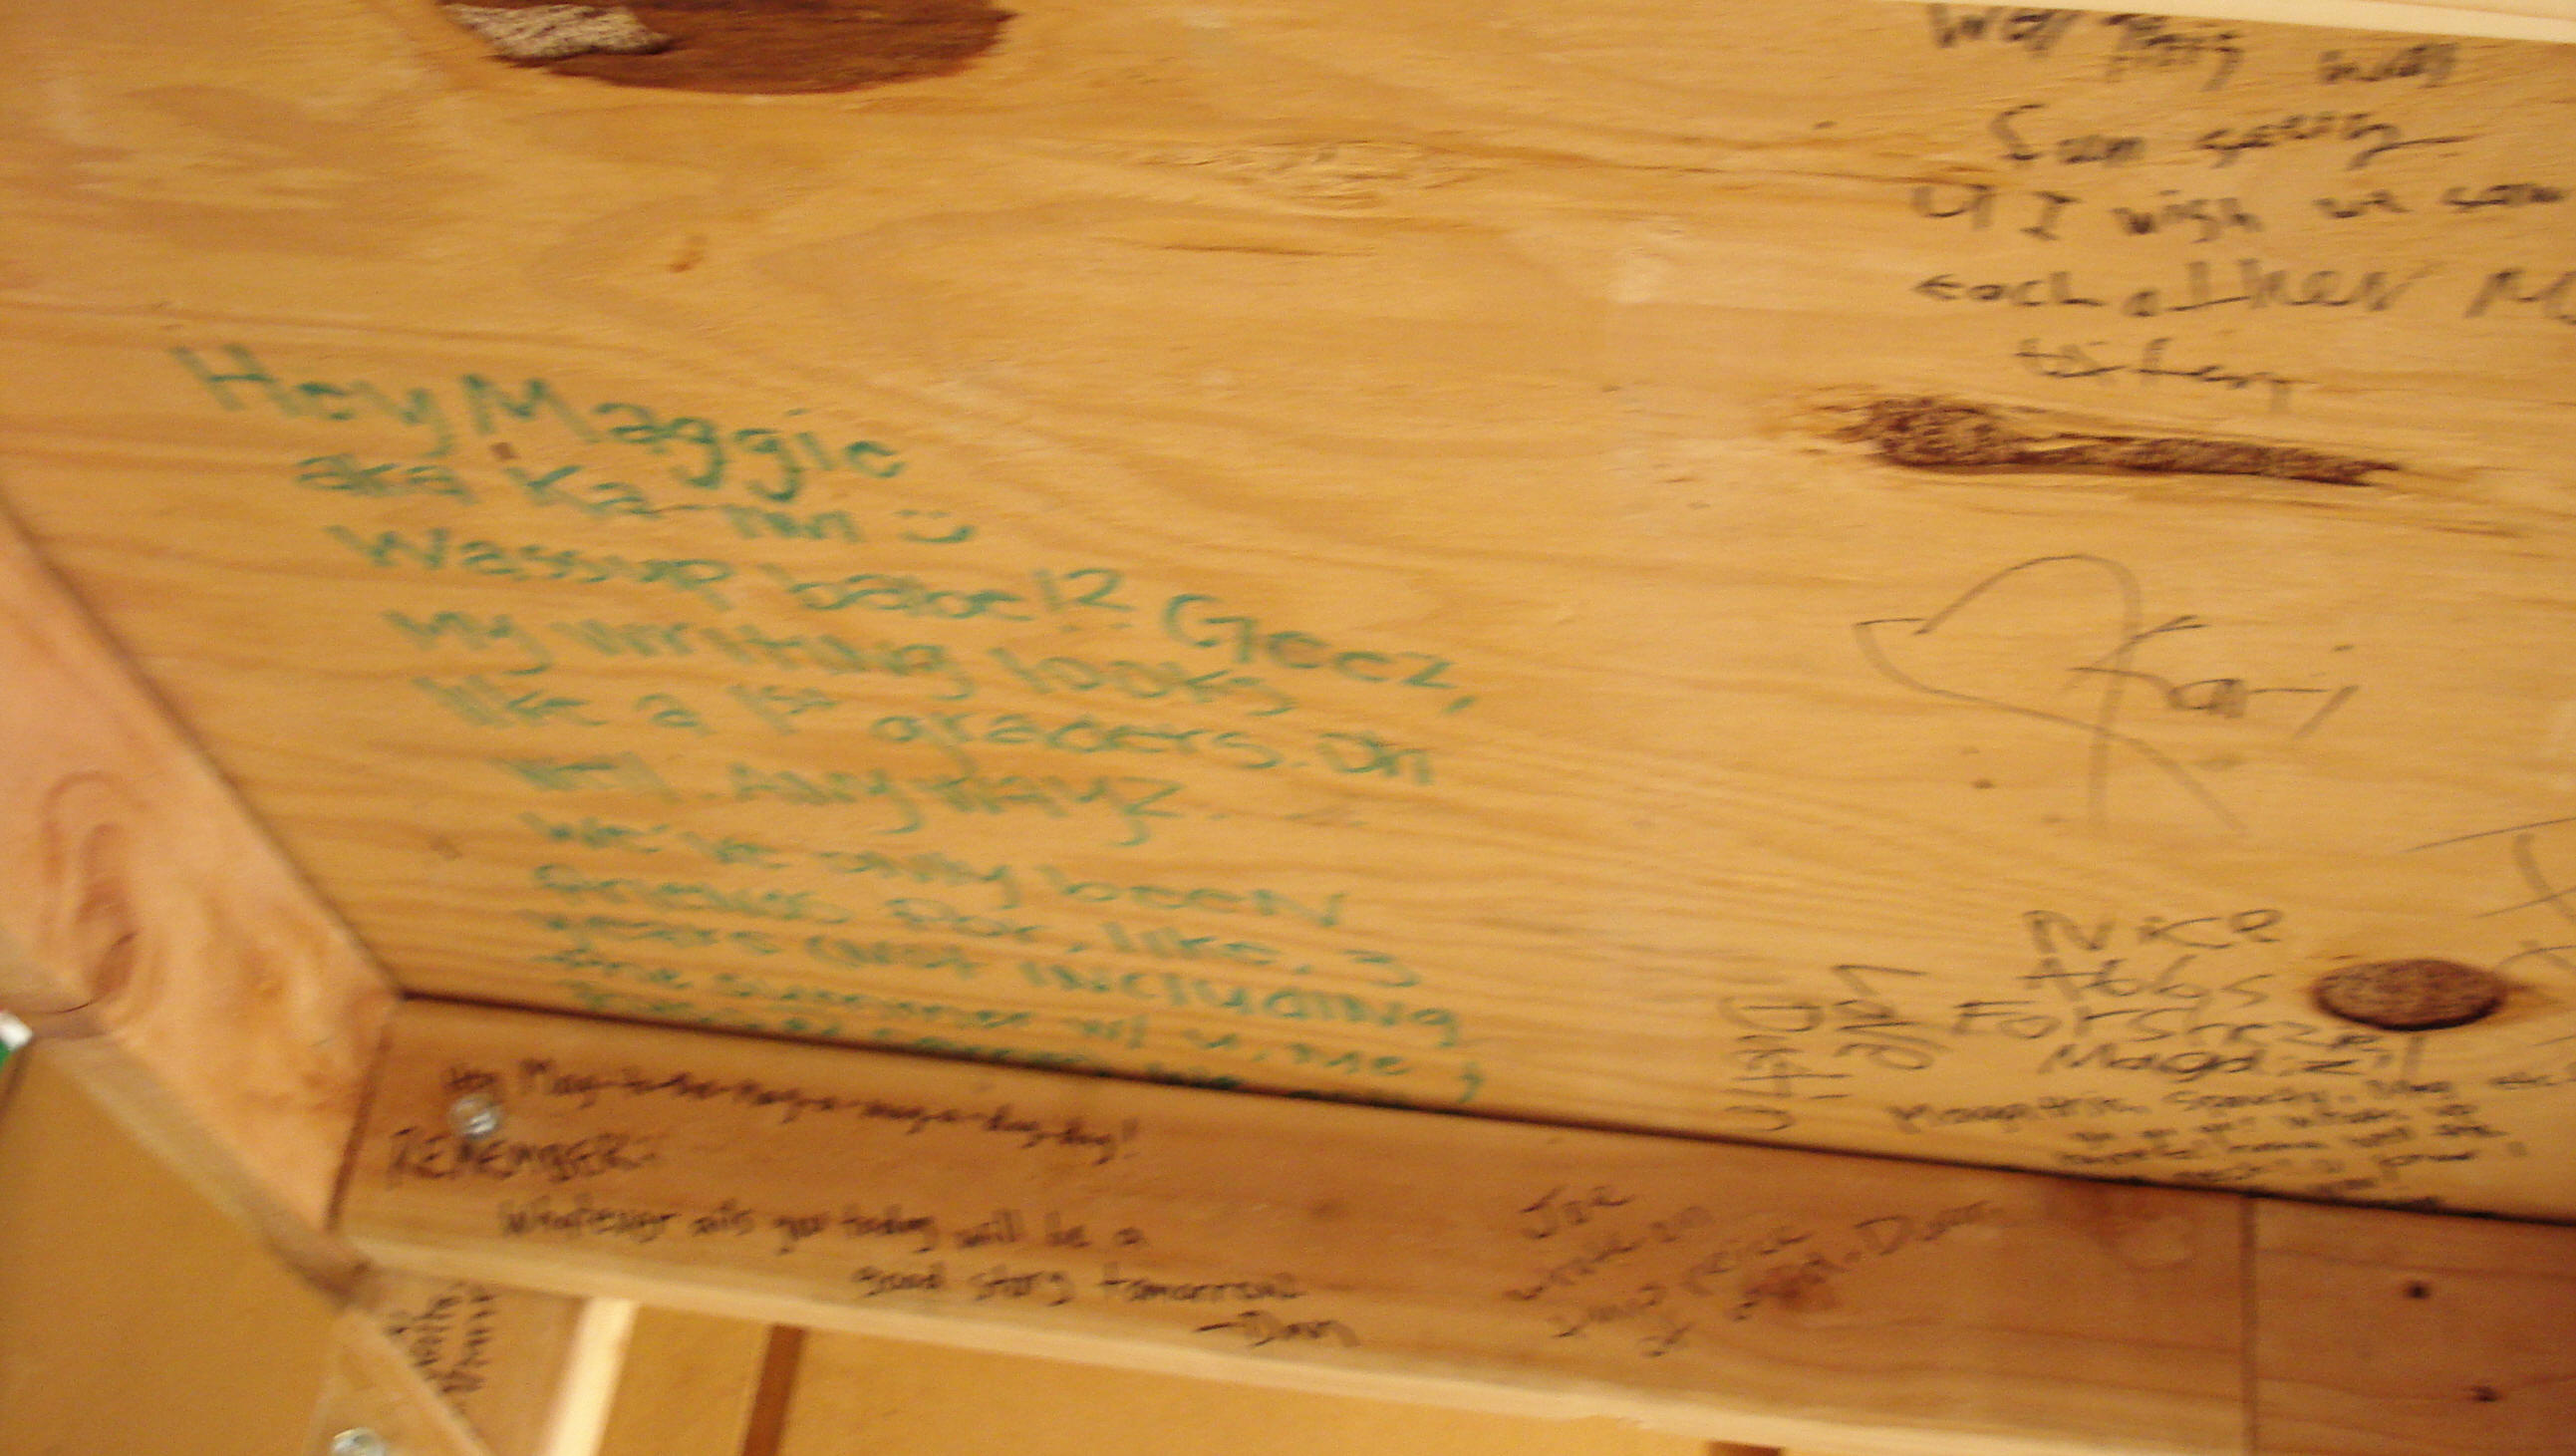
Features
Most visible surfaces were decorated by the Maggie Fan Club. This lumber used to be a bunk bed in her room.
Collapsible for travel.
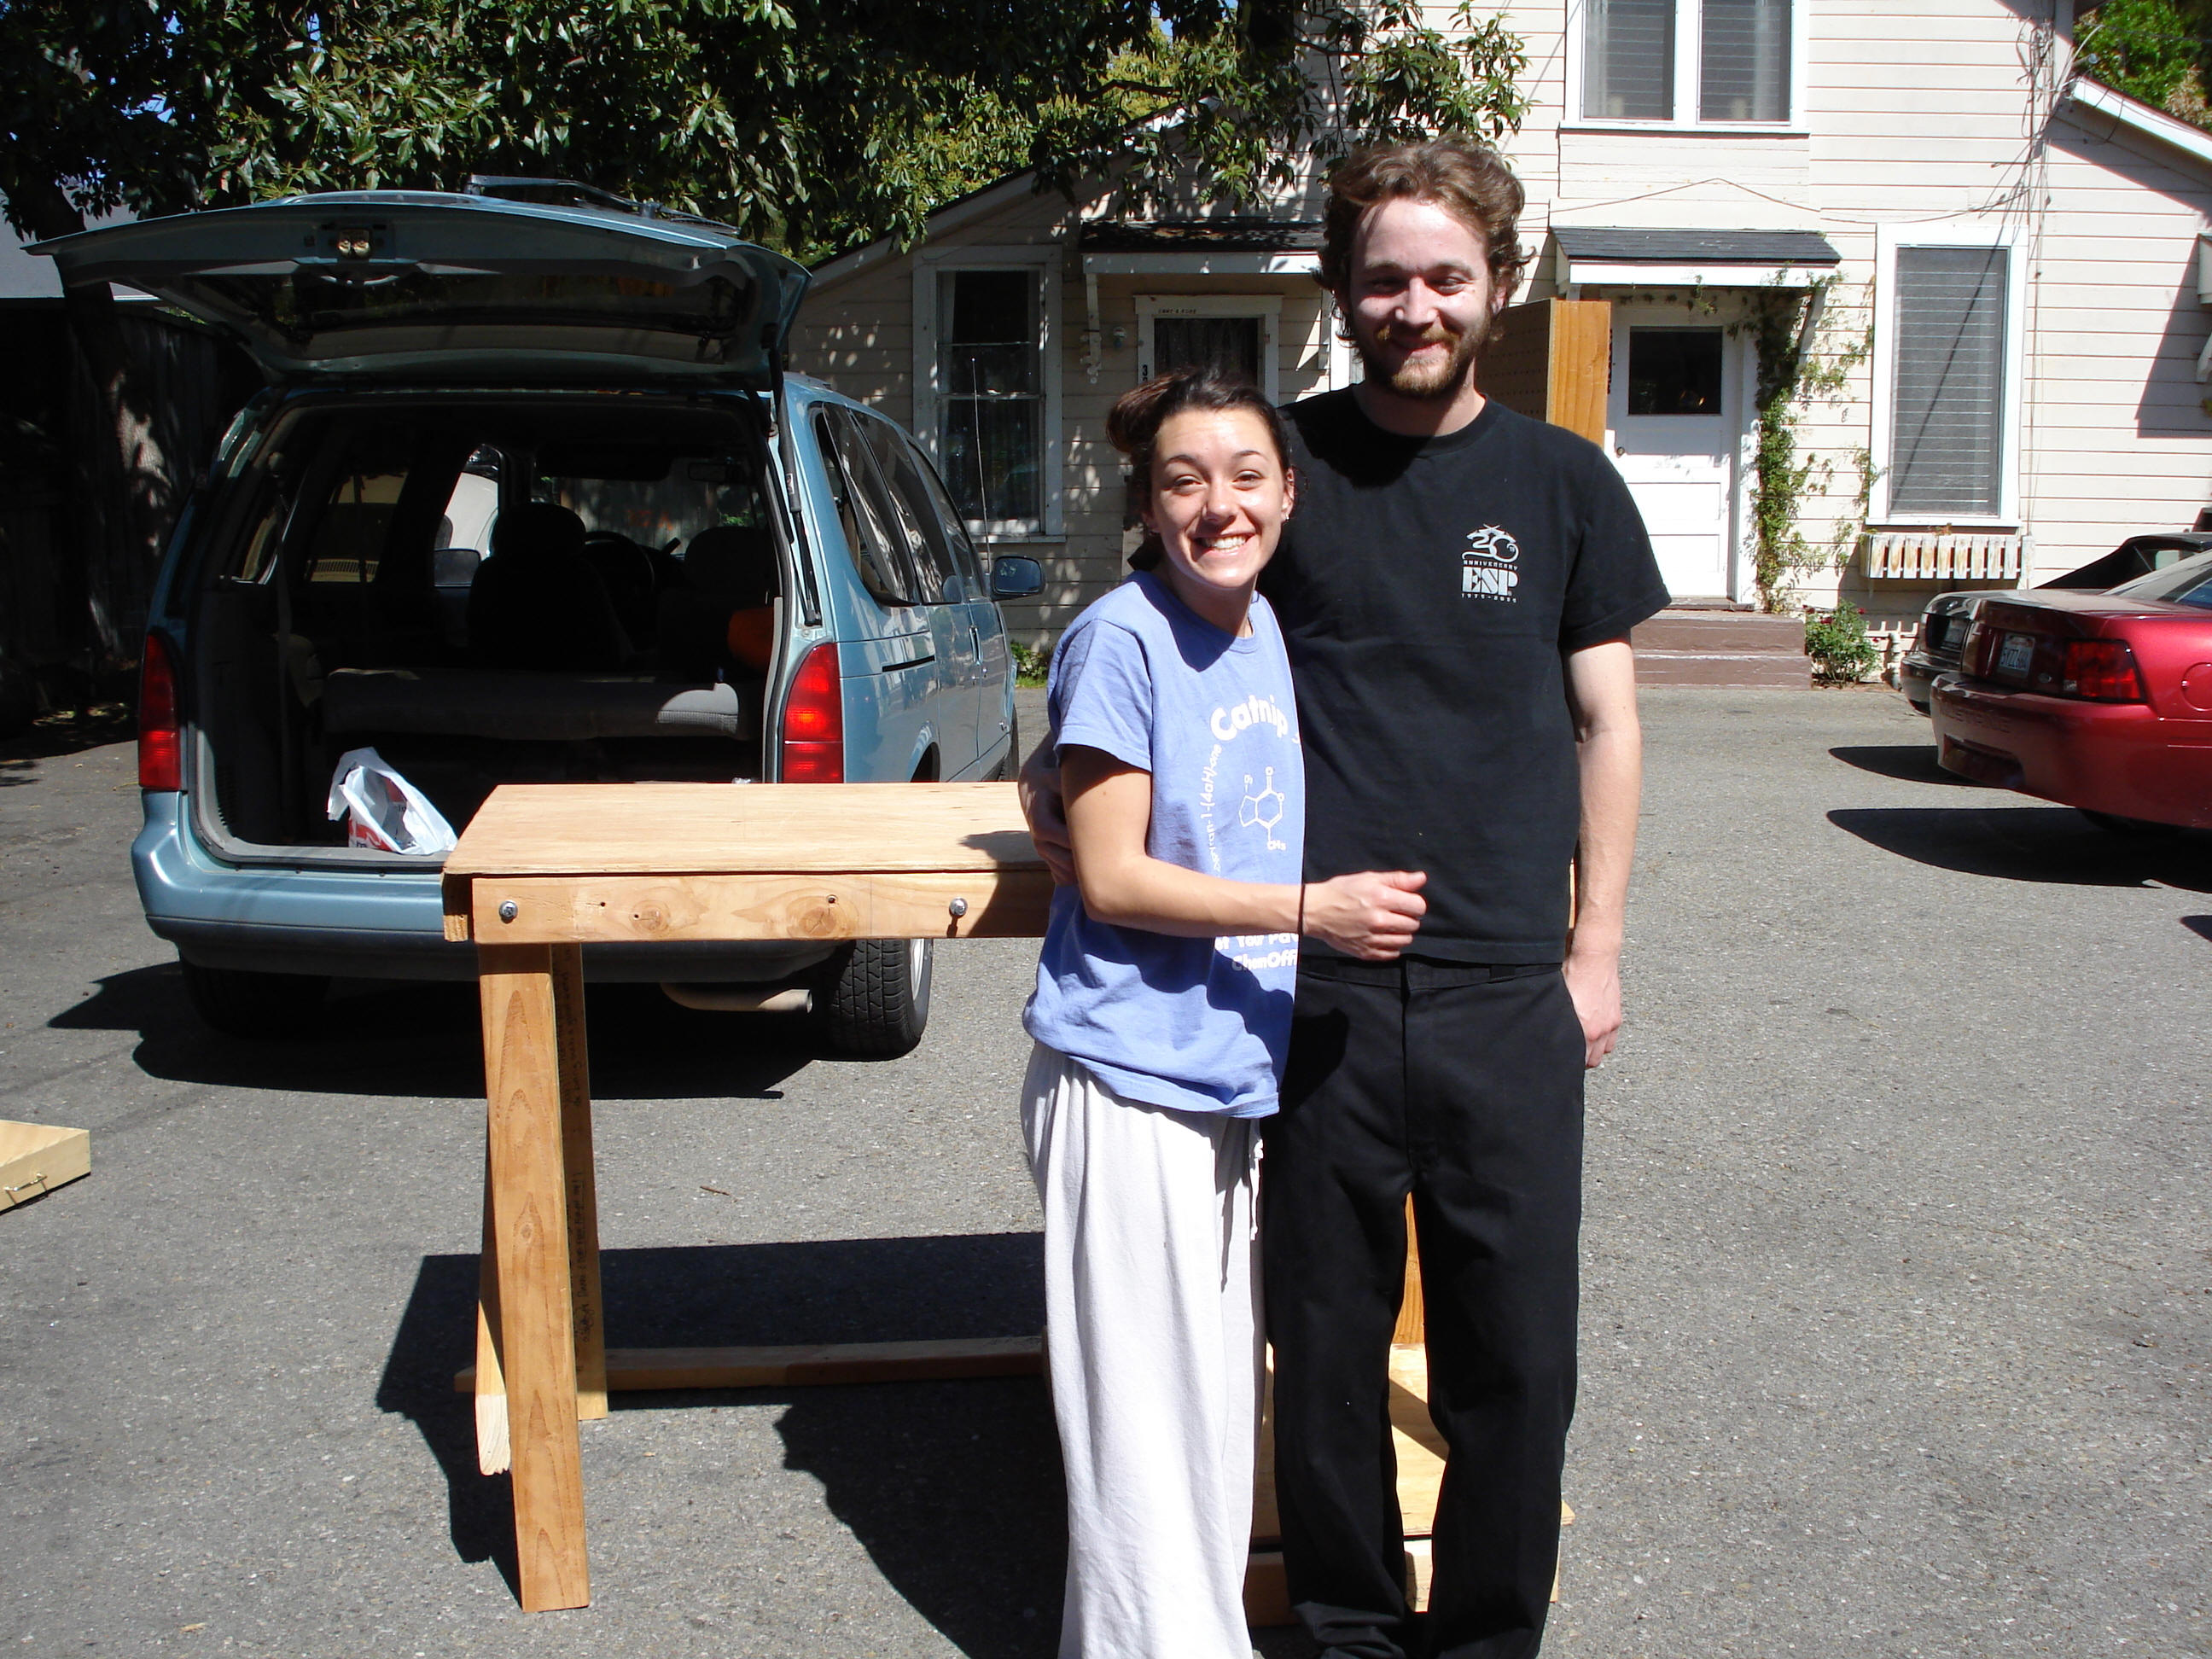
Proud New Owners in their driveway