Day 5. Tuesday, Apr 22. Raising the roof, part 1.
First task today was to nail the walls to the foundation and to each other. I checked it with a level here and there. I used the cheap one with the big bubble.
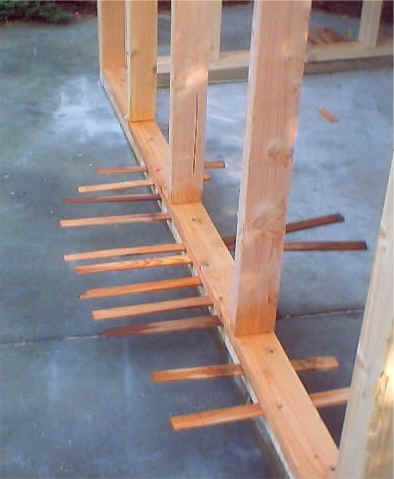
How to deal with gaps between the walls and the foundation: shim city.
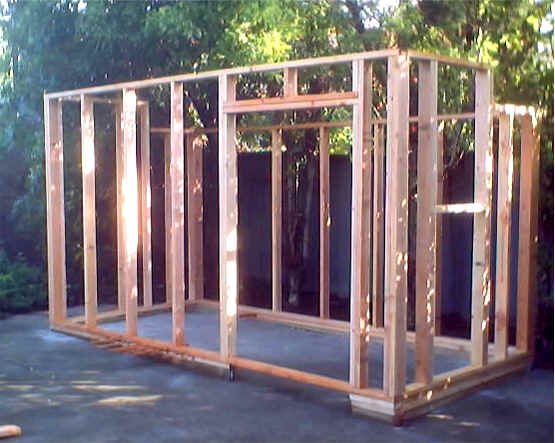
Here's the frame all nailed together. Look ma, no braces or clamps.
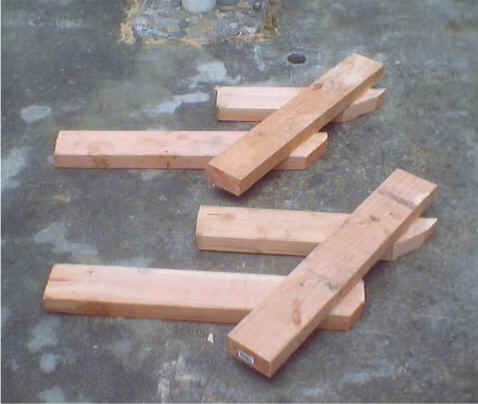
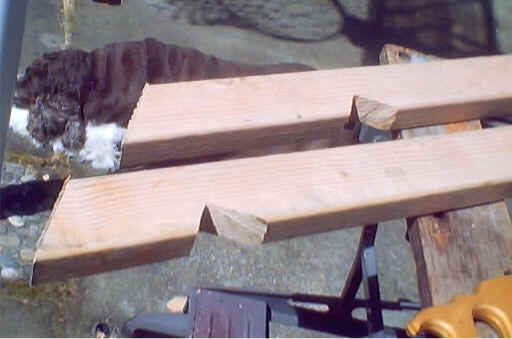
Next job: cut the roof rafters. Each one required an angle cut on each end, plus a notch called a "bird's mouth" to sit on top of the walls. For cutting lots of boards at the same angle, I'm becoming a big fan of home-made sawing jigs. Here are the two I made for the rafters: three scrap 2x4's nailed together at the appropriate angle:
The plans call for different angles for the front and rear slopes, but they're so close I'm not sure why I bothered (one's 12/8, the other 12/9). Carpenters don't express angles in degrees, they use ratios (slopes) like "12/8." This means you can draw the angle by putting the 12" and the 8" marks of a framing square at the edge of a board, like this:
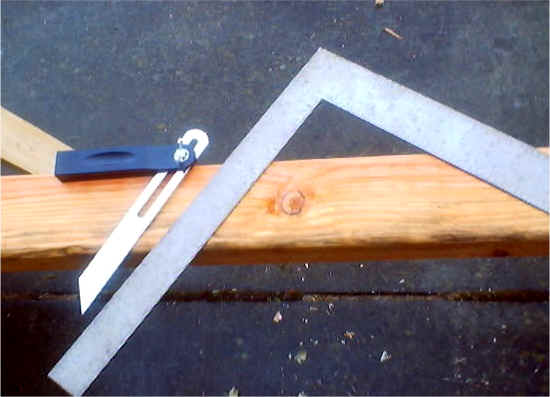
That gadget on the left is called a T-bevel, a brilliantly simple device for copying an angle from one place to another.
The first set of rafters, cut and notched:
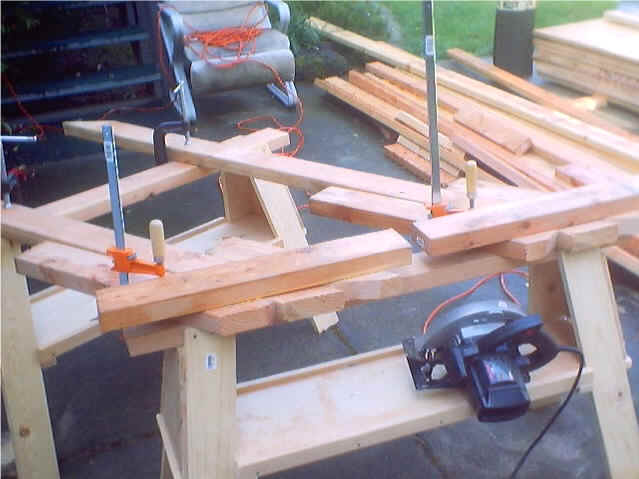
What they look like clamped into position:
The Rafter Mass Production Factory in full operation:
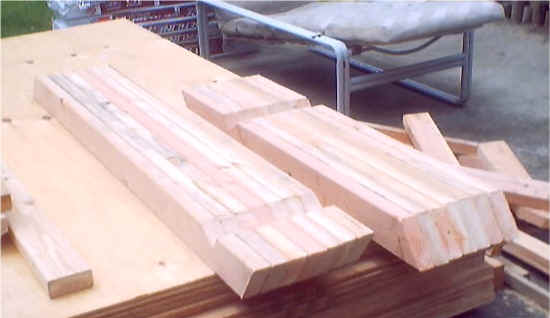
The results:
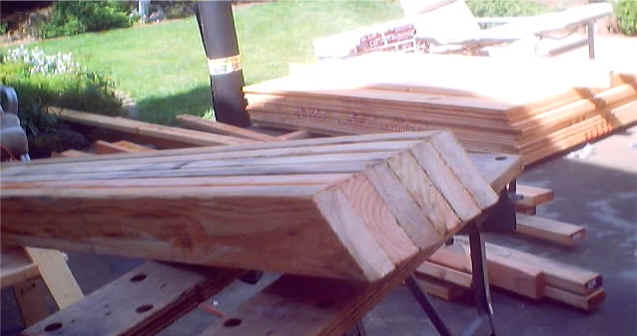
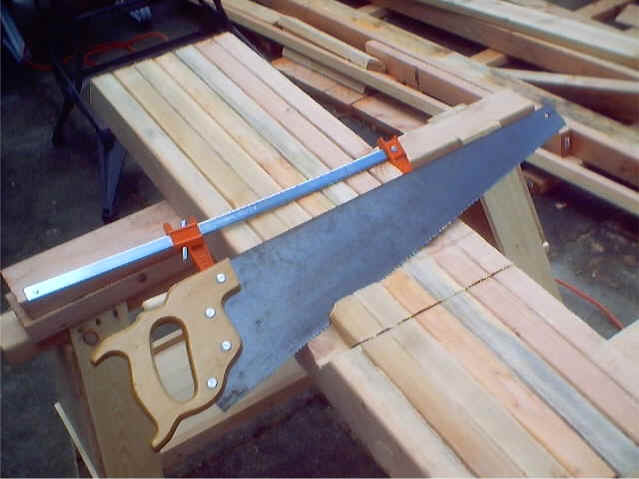
All bird's mouth notches were cut at the same time. One of the angles was too steep for the power saw, so I got in some arm exercise. Groan. It was like sawing through a 4x14.
The completed set of rafters:
Here's the ridge beam (the only 2x6 in the building), prepared with joist hangers:
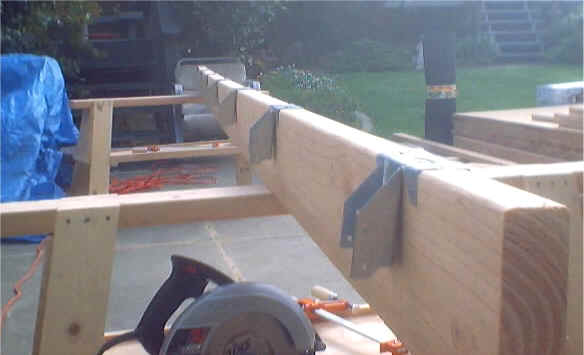
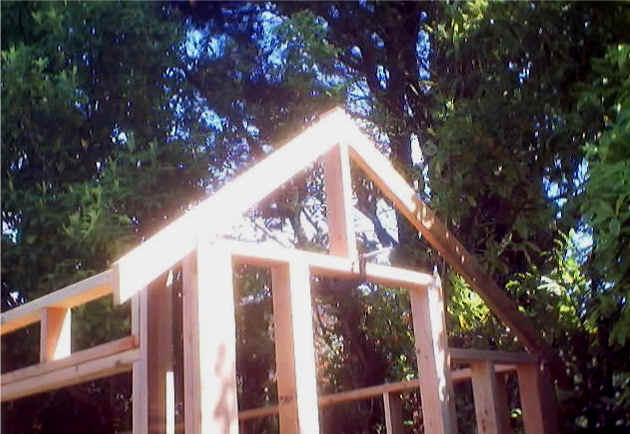
The beam in place, with rafters on each end:
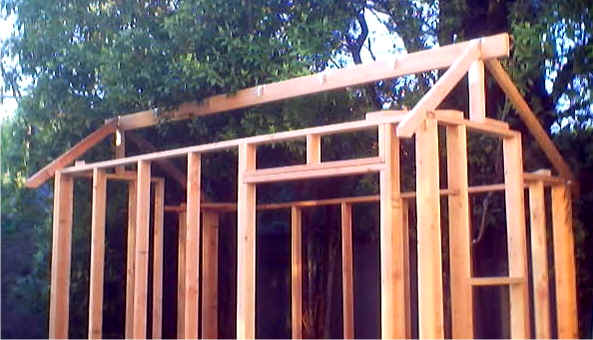
We achieve shed-like shape, and head for the fridge.