![]() Dill's Shed
Dill's Shed
Back yard project, April-May 2003
No self-respecting homeowner uses a plastic tarp as a long-term lawnmower storage strategy, so I figured it was time to build a shed. Feel free to follow along. For background, see below.
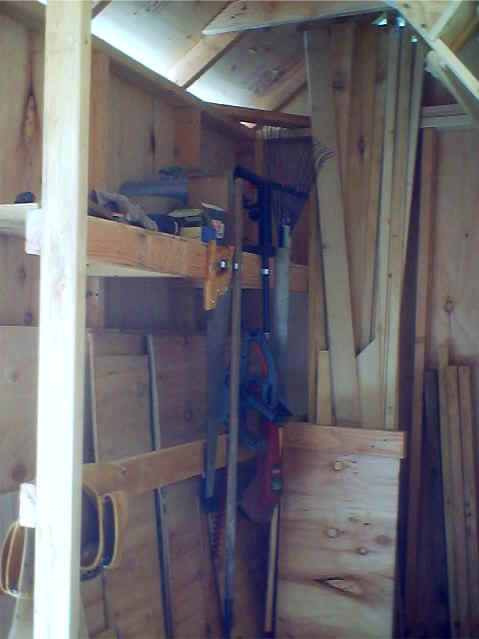
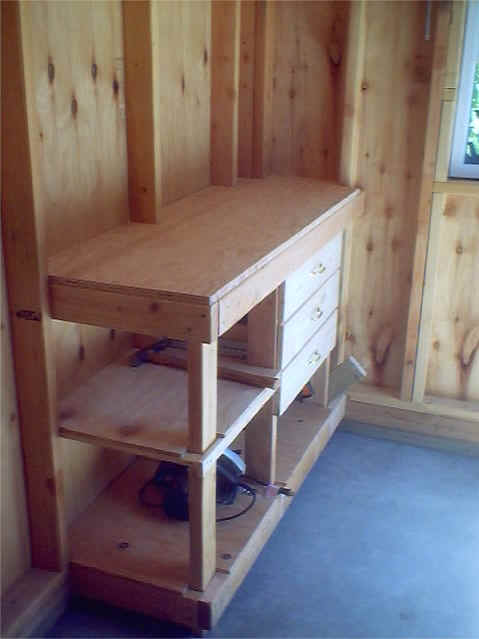
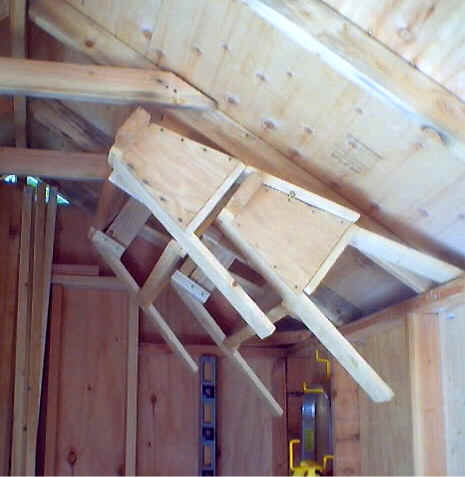
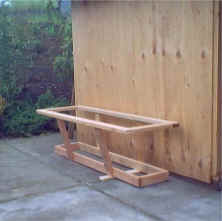
May 26. The finished workbench, brackets to hang the sawhorses, and other interior stuff. See yesterday's workbench construction.

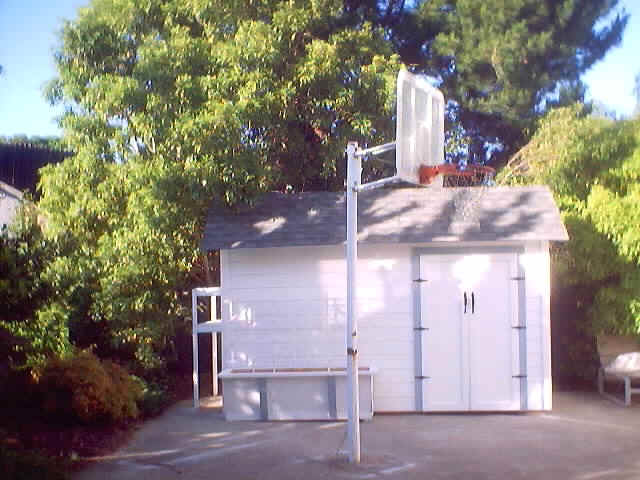
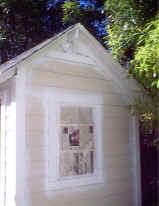
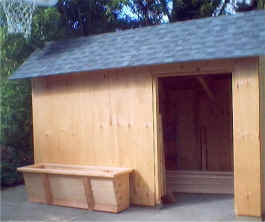
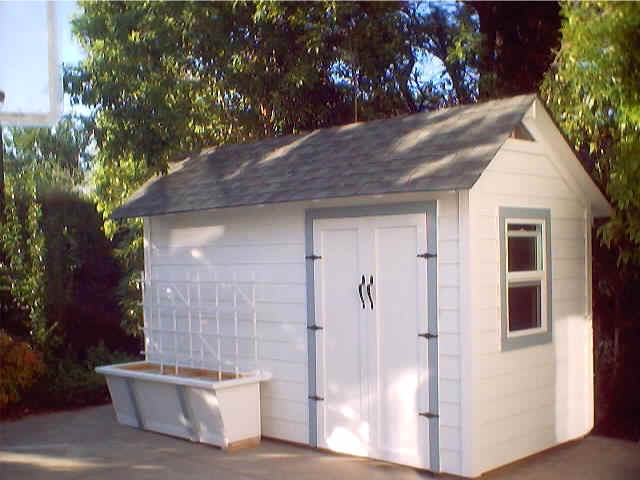
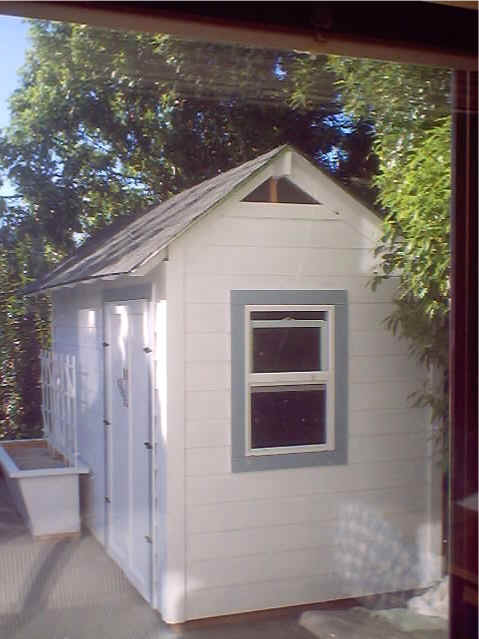
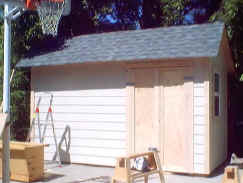
May 21: Done.
Next project: see plans for workbench.
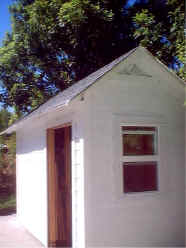
May 19: Played hooky from work this afternoon and painted instead.

May 18: A coat of primer.
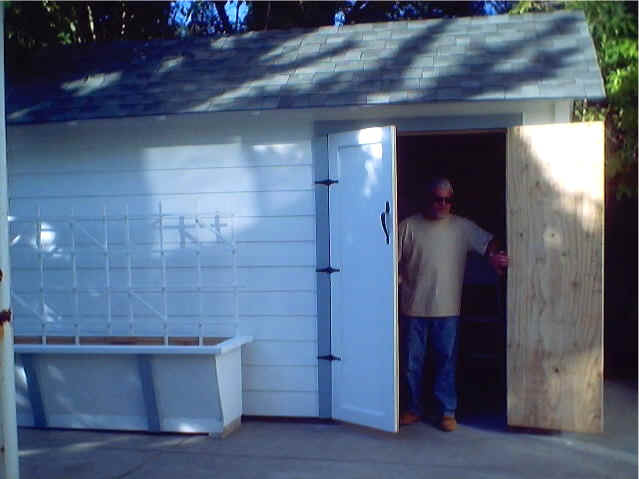
May 17: Trim, doors, shelves. Ready to paint now.

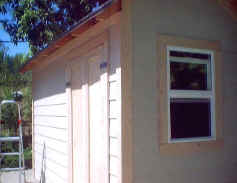
May 12: More siding.
May 11: Siding.
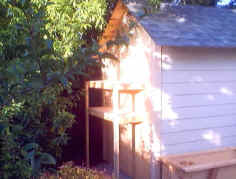
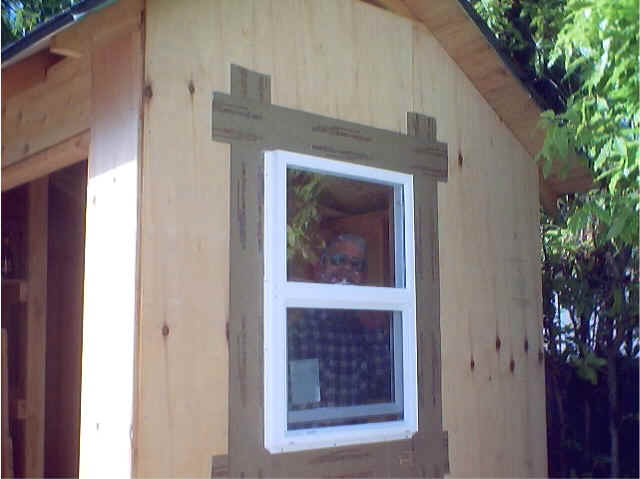
May 5: Installed the window.
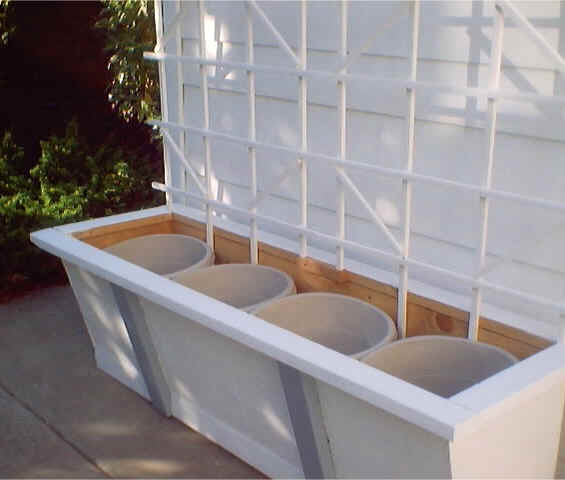
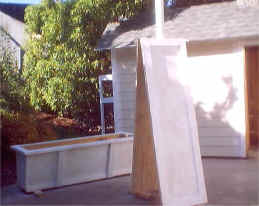
May 4: Weekend was too rainy for any serious work (like applying the siding), so I undertook a garage project instead: a planter box for the front of the shed. Partial solution to the problem of leftover 2x4's and plywood.

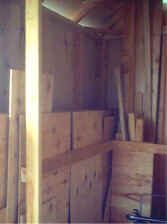
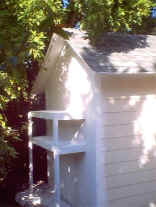
Apr 28: A rack inside for leftover wood.
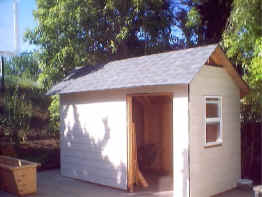
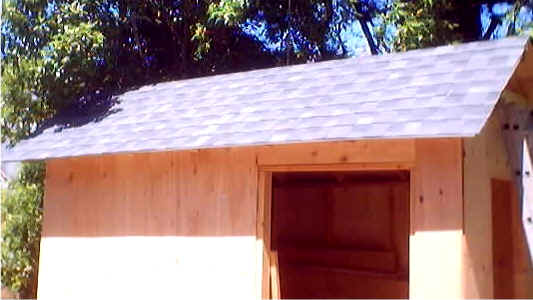
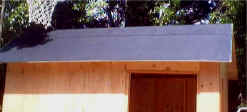
Day 10. The shingled roof.
Day 9. Shed gets a hat.
Day 8. Rain delay
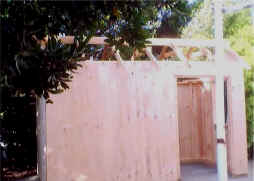
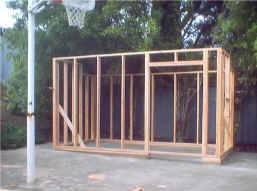
Day 7. Bringin' in the sheathes
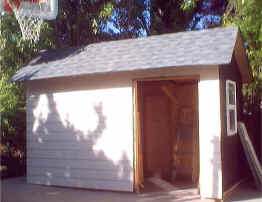
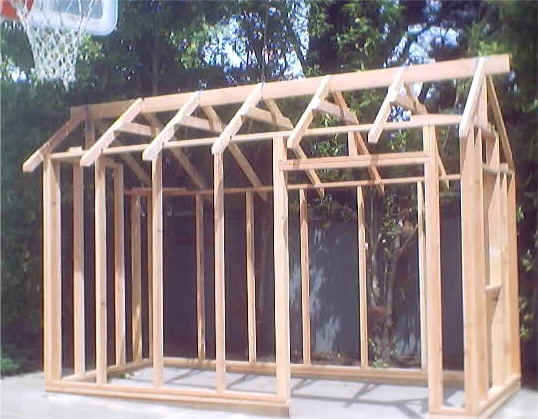
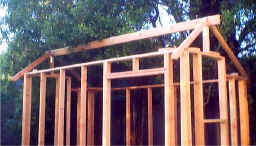
Day 6. Framing finished
Day 5. Roof, part 1
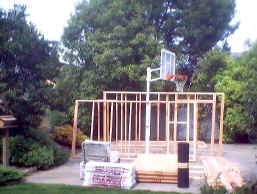
Day 4. Raising the walls
Day 3. Framing the walls
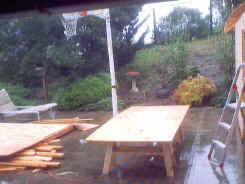
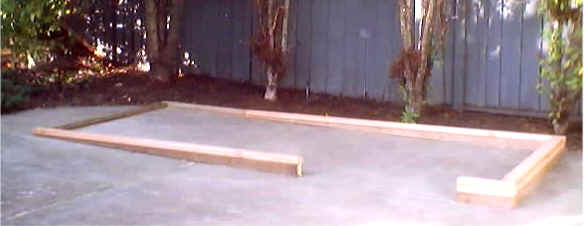
Day 2. Setting up the foundation
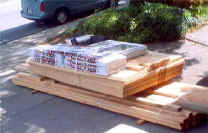
Day 1. Lumber delivery
Plans
I started with the useful book Sheds and Garages from Sunset Books. I chose a "saltbox" shape, with the front of the roof steeper and shorter than the back.
The original plan was to build something long and narrow on the existing concrete patio, against the back fence so it wouldn't intrude much into the yard. This would have required (a) cutting down some trees, (b) pouring concrete into the strip of dirt against the fence, and (c) getting a building permit. All of these problems went away when I decided to build three feet away from the fence instead.
I thought 14x7 would be about the right size, and drew up a set of plans using Microsoft Visio; see Plans, Version 1. Based on this plan, I ordered lumber from Home Depot. Total cost was about $800, including two windows ($80 each), lumber, nails, shingles, roofing felt, and $75 for delivery.
Once I cleared away the dirt and located the edge of the concrete, I found it didn't have a square corner and wasn't very straight, so the building would have to move still further from the fence. I drew a chalk outline and found it obnoxiously large and intrusive. So I hastily changed the plans, reducing the size to less than 13x6. In thinking about where to put the leftover lumber, I was shocked to realize the plan did not allow for storing 4x8 sheets or 8-foot boards. So I removed one window, moved the door, and made some other adjustments. See Plans, Version 2.
If those drawings look precise and squared away, look again. I was marking measurements on the boards when I found some of them didn't quite add up. Turns out I was off by a quarter inch in the widths of all the 2x4's*. So those carefully-laid plans are now covered with pencilled corrections. I may redraw them during some rain delay period.
* Actual size is 11/2 x 31/2. The plans show 11/2 x 33/4.